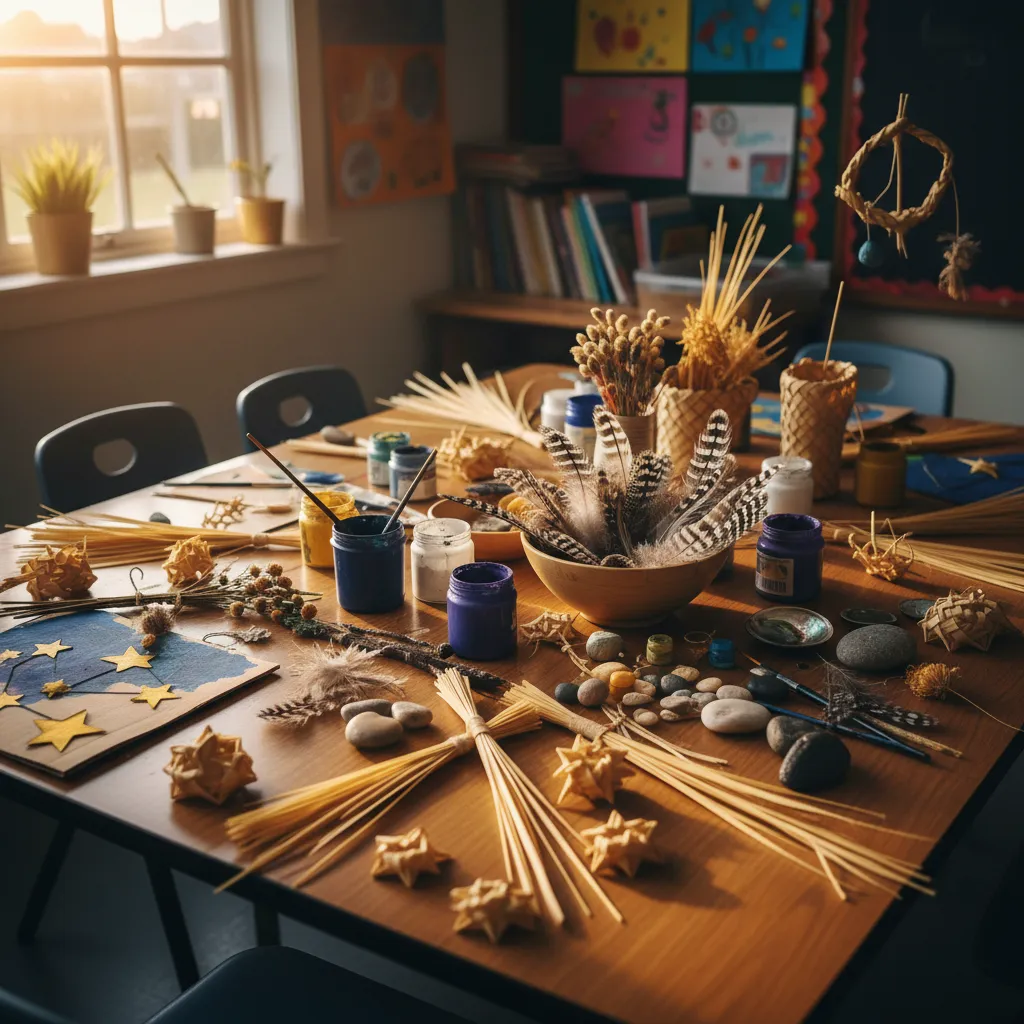
Easy Matariki crafts for kids are hands-on educational activities designed to celebrate the Māori New Year, focusing on symbolism like the Pleiades star cluster. These projects, including weaving harakeke-style stars, building manu tukutuku kites, and crafting paper lanterns, allow children to engage with New Zealand cultural traditions while developing fine motor skills and learning indigenous history.
Understanding the Cultural Significance of Matariki
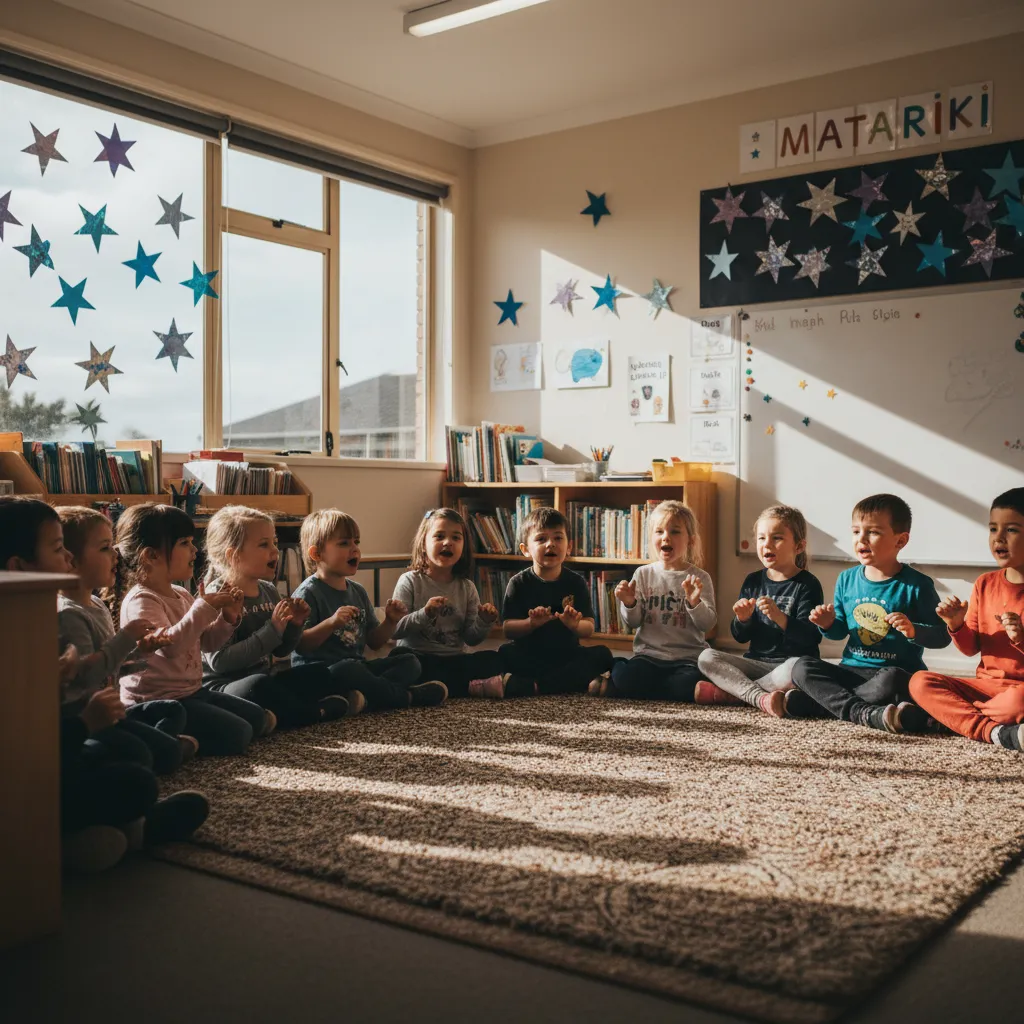
Matariki is a time of renewal, remembrance, and celebration in Aotearoa New Zealand. Marking the beginning of the Māori lunar calendar, the rising of the Matariki star cluster (known elsewhere as the Pleiades) signals a shift in seasons. For educators and parents, integrating easy Matariki crafts for kids into the curriculum or home life is a powerful method to teach the values of whanaungatanga (kinship), kaitiakitanga (guardianship), and the importance of looking to the stars to navigate the future.
Crafting during this period is not merely about keeping hands busy; it is an act of storytelling. Each object created—whether it is a kite meant to flutter near the heavens or a lantern to guide the way during dark winter nights—carries specific historical weight. By engaging in these activities, children move beyond passive observation and become active participants in a living culture.
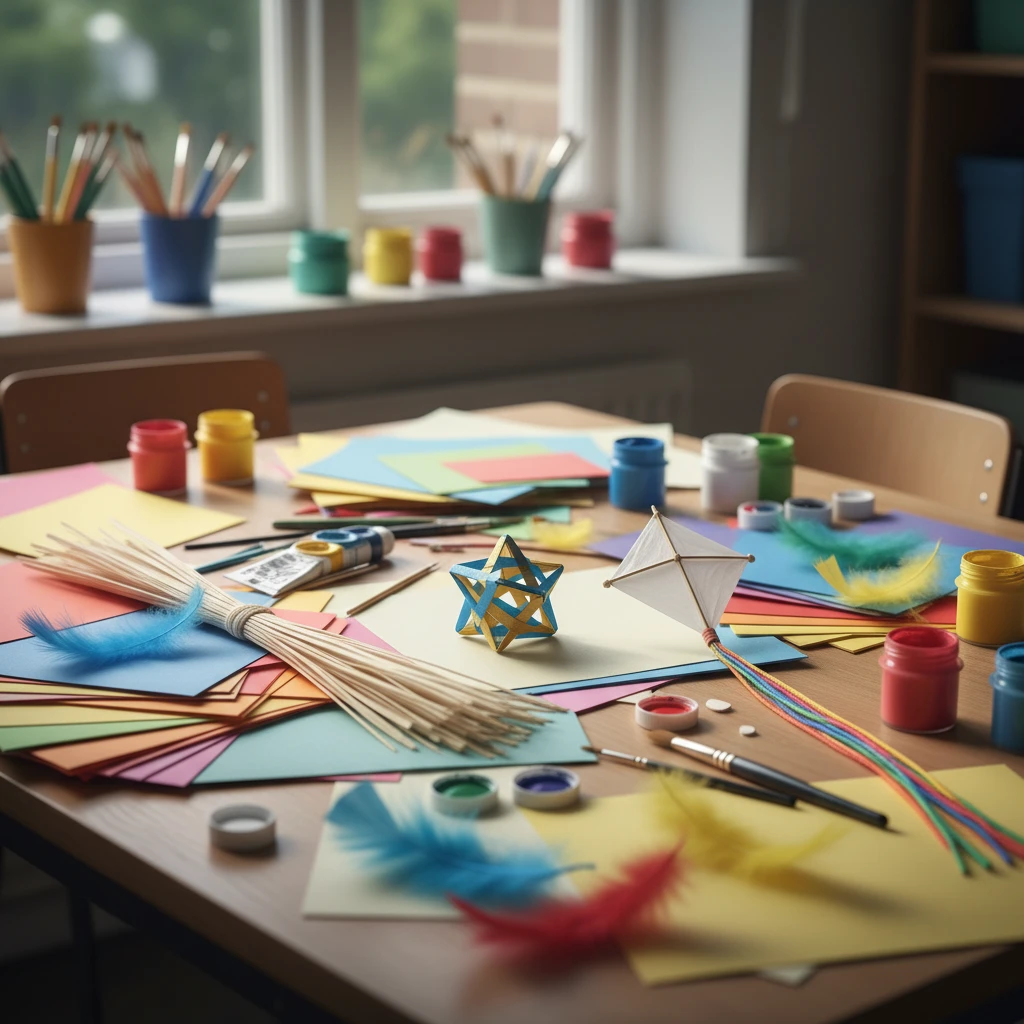
How to Make a Traditional Manu Tukutuku (Kite)
Historically, Manu Tukutuku (kites) were used by Māori not only for recreation but also as a means of communication between the earth and the heavens. They were believed to carry messages to the gods. Creating a simplified version of these kites is an excellent way to teach aerodynamics and cultural history simultaneously.
Materials Needed for a Classroom-Friendly Kite
- Bamboo skewers or lightweight diverse sticks (to mimic Toetoe stems)
- Tissue paper or lightweight majestic fabric
- Natural string or twine
- Feathers (for decoration)
- PVA glue or tape
- Scissors
- Ribbon or fabric strips (for the tail)
Step-by-Step Construction Guide
1. Construct the Frame:
Begin by crossing two bamboo skewers to form a lowercase ‘t’ shape. The horizontal stick should be roughly one-third down from the top of the vertical stick. Secure the intersection tightly with string, using a lashing knot to ensure stability. This cross shape represents the spiritual connection between the sky father (Ranginui) and earth mother (Papatūānuku).
2. Outline the Shape:
Tie a piece of string to the top of the vertical skewer. Run the string to one end of the horizontal skewer, wrap it once, then continue to the bottom vertical, the other horizontal end, and back to the top. This creates a diamond outline. Ensure the string is taut but not so tight that it bends the skewers.
3. Apply the Skin:
Lay your frame onto the tissue paper. Cut around the frame, leaving a 2-centimeter margin on all sides. Fold the paper margin over the string outline and glue it down securely. Allow this to dry completely before moving to the next step.
4. Decoration and Tail:
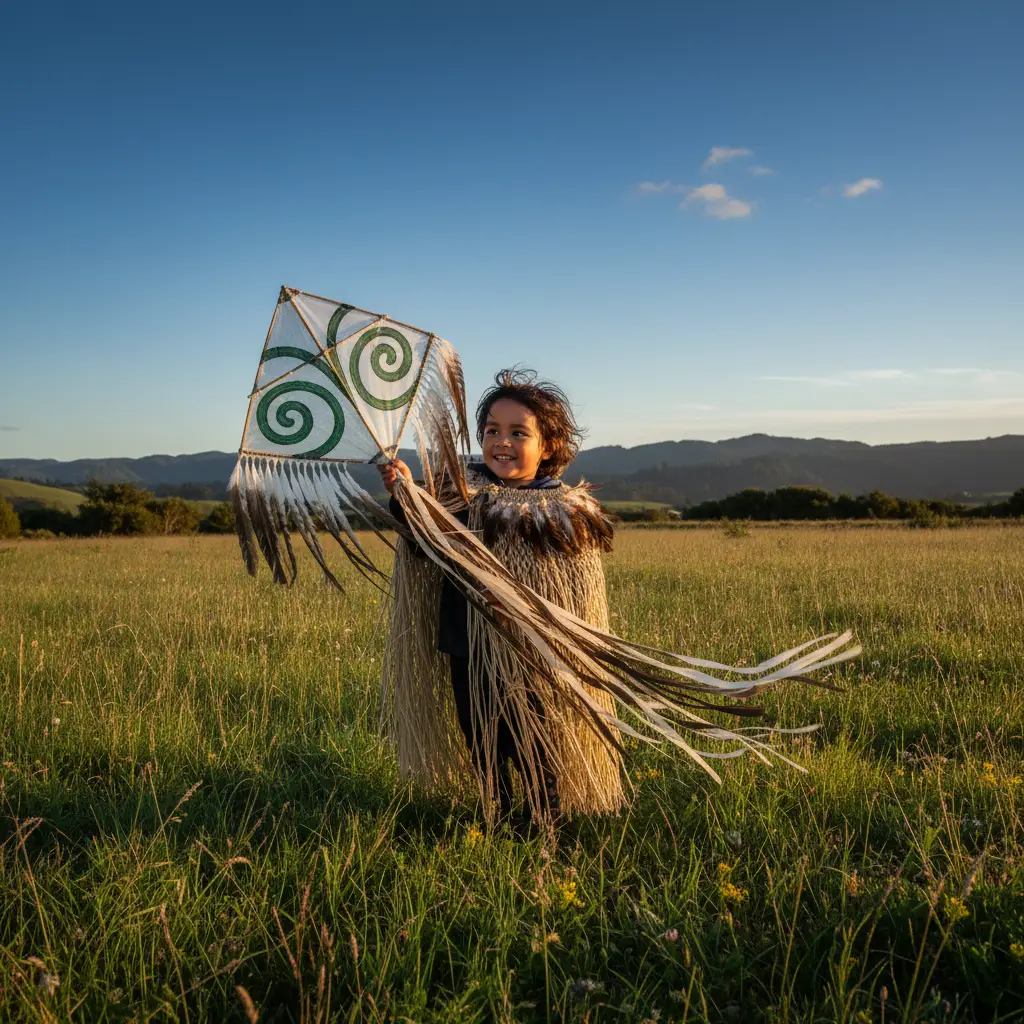
This is where the “easy Matariki crafts for kids” aspect shines. Encourage children to glue feathers along the spine of the kite or draw traditional Māori motifs like the koru (spiral) on the paper. Finally, attach a long tail made of ribbon or fabric strips to the bottom of the kite. The tail provides stability during flight.
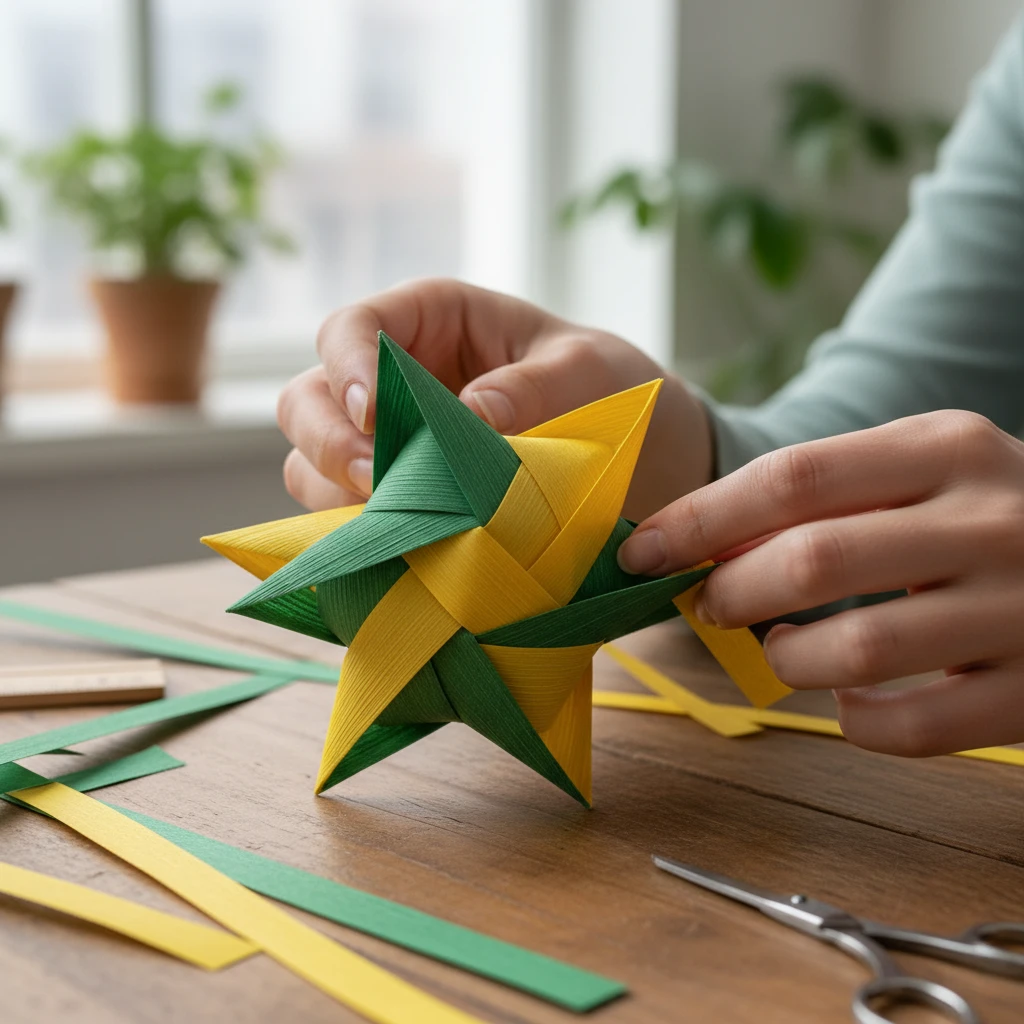
Weaving Flax Stars (Harakeke Whetū)
The star is the central symbol of Matariki. While traditional weaving uses Harakeke (New Zealand flax), harvesting and preparing flax involves specific tikanga (protocols) and safety measures (avoiding the sharp blades). For an easier, classroom-safe alternative, stiff paper strips or florist ribbon work exceptionally well while still teaching the fundamental weaving concepts.
What is the significance of the Whetū?
Whetū means “star” in Te Reo Māori. Weaving stars is a meditative practice that represents the nine stars of the Matariki cluster: Matariki, Pōhutukawa, Tupuānuku, Tupuārangi, Waipuna-ā-rangi, Ururangi, Waitī, Waitā, and Hiwa-i-te-rangi. Each star holds dominion over different environmental domains, such as fresh water, salt water, crops, and wind.
Instructions for a 4-Strip Woven Star
Preparation:
Prepare four strips of paper or ribbon, approximately 1cm wide and 30cm long. Fold all four strips in half.
The Locking Method:
1. Hold the first folded strip vertically (loop at the top).
2. Slide the second strip (loop on the left) over the two ends of the first strip.
3. Take the third strip (loop at the bottom) and slide it over the ends of the second strip.
4. Take the fourth strip (loop on the right), slide it over the ends of the third strip, and tuck the ends through the loop of the first strip.
5. Pull all ends tight to form a woven square center.
Creating the Points:
Once the center square is locked, fold the top-left strip down. Fold the bottom-left strip to the right. Fold the bottom-right strip up. Fold the top-right strip to the left and tuck it under the first folded strip to lock the square again. Flip the star over and repeat the folding process to create 3D points. Trim the excess ribbon to finish the star.
Paper Lantern Making for Light Festivals
Matariki occurs in mid-winter in the Southern Hemisphere. Light plays a crucial role in the festivities, symbolizing warmth, hope, and the return of the sun. Paper lanterns are among the most popular easy Matariki crafts for kids because they are safe, effective, and visually stunning when displayed in groups.
Creating a Silhouette Lantern
This craft focuses on the contrast between light and dark, representing the night sky.
Materials:
– Black cardstock
– Baking paper or tracing paper
– LED tea lights (battery operated for safety)
– Scissors and glue sticks
– Star-shaped hole punches (optional)
Assembly:
1. Cut a cylinder shape out of the black cardstock. Before rolling it, have the children cut out shapes from the cardstock. These shapes could be stars, moons, or fern fronds.
2. Glue a sheet of baking paper behind the black cardstock. The baking paper will diffuse the light.
3. Roll the cardstock into a cylinder and staple or glue the ends together.
4. Place the cylinder over an LED tea light. The light will shine through the baking paper shapes, creating a glowing silhouette effect perfect for a classroom display or a home mantelpiece.
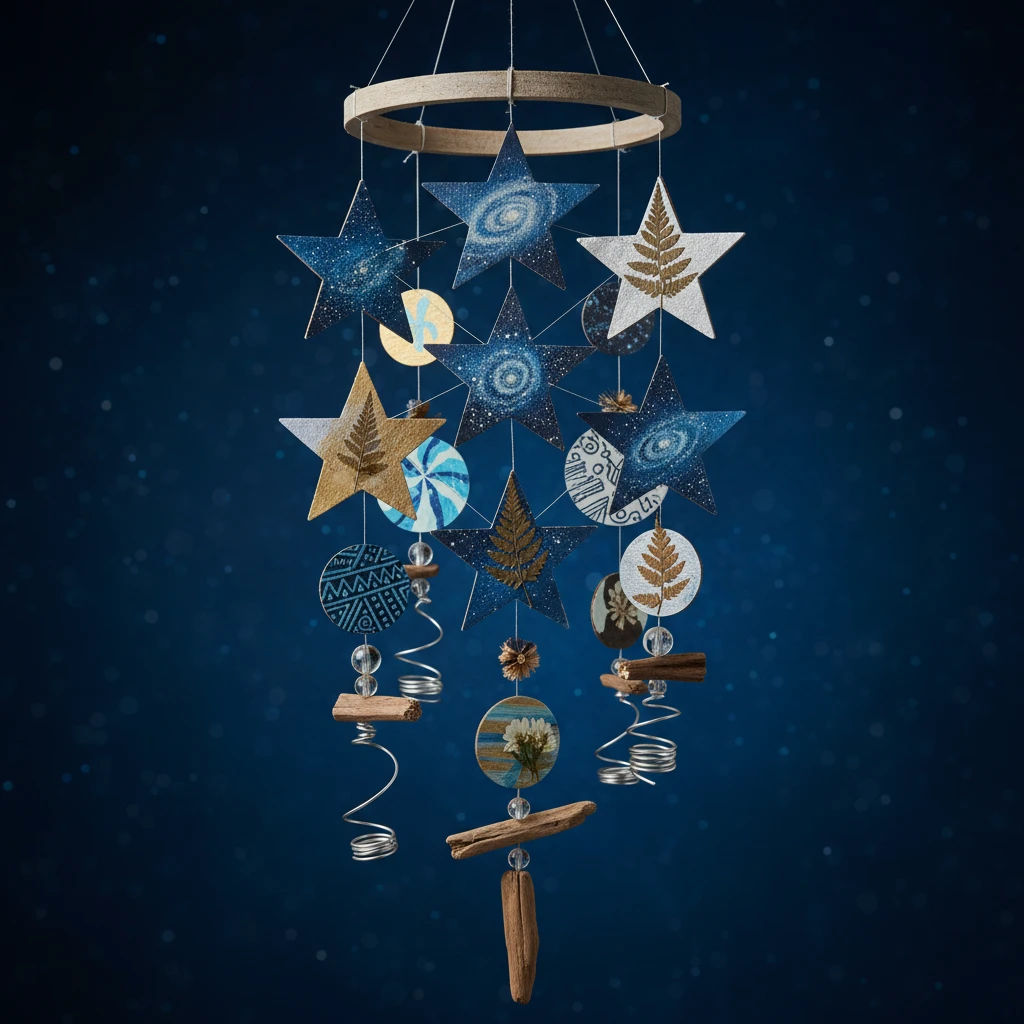
Recycled Material Star Clusters
Sustainability and care for the environment (Kaitiakitanga) are core Māori values. Using recycled materials for crafts reinforces the lesson of protecting Papatūānuku (Earth Mother). This project involves creating a mobile of the Matariki cluster using found objects.
Gathering Materials
Ask children to bring in clean recyclables from home. Useful items include cardboard cereal boxes, plastic bottle caps, old CDs (which reflect light beautifully), and egg cartons.
Constructing the Cluster
1. The Base:
Use a coat hanger or a fallen branch found in the garden as the mobile base. This connects the craft back to nature.
2. The Stars:
Cut star shapes out of cereal boxes. Paint them using glow-in-the-dark paint or metallic silver and gold markers. Alternatively, glue plastic bottle caps together in star patterns. If using old CDs, these can represent the brightest stars due to their reflective surface.
3. Assembly:
Use different lengths of string to hang the stars from the branch. This is a great opportunity to teach the astronomy of the cluster. For example, the star Matariki signifies health and well-being, while Waipuna-ā-rangi is connected to rain. You might hang blue-painted stars lower to represent rain or water stars (Waitī and Waitā), and bright white stars higher up.
Educational Benefits of Cultural Crafting
Integrating these crafts into an educational setting provides value far beyond the finished product. In the context of the New Zealand Curriculum, specifically Te Whāriki, these activities support the strand of Communication (Mana Reo) and Exploration (Mana Aotūroa).
When children engage in making easy Matariki crafts, they are:
- Developing Fine Motor Skills: Weaving, cutting, and tying knots require dexterity and hand-eye coordination.
- Learning Cultural Competence: Understanding the stories behind the crafts fosters respect for biculturalism.
- Connecting with Nature: Using natural materials like wood, feathers, and (where appropriate) flax, grounds the children in their environment.
- Practicing Patience and Focus: Projects like weaving require sequential thinking and persistence.
By framing these activities within the story of Matariki, educators and parents provide a holistic learning experience that celebrates history, art, and science simultaneously.
Frequently Asked Questions
What are the 9 stars of Matariki?
The nine stars are Matariki, Pōhutukawa, Tupuānuku, Tupuārangi, Waipuna-ā-rangi, Ururangi, Waitī, Waitā, and Hiwa-i-te-rangi. Each star represents a different aspect of the environment and well-being, such as fresh water, the ocean, crops, and our hopes for the future.
Why do we fly kites during Matariki?
Kites, or Manu Tukutuku, are flown to connect the heavens and the earth. Traditionally, they were believed to flutter close to the stars and were used to send messages to those who had passed away and to the gods.
What materials are best for easy Matariki crafts?
For children, the best materials are accessible and safe items like cardstock, tissue paper, bamboo skewers, yarn, and recycled goods. While traditional flax (harakeke) is authentic, paper strips are often easier for small hands to weave.
How do you explain Matariki to a child?
Matariki can be explained as the Māori New Year. It is a time when a special group of stars rises in the winter sky. It is a time to remember the people we have lost, celebrate the present with good food and family, and plan for the future.
Can you use paper instead of flax for weaving stars?
Yes, absolutely. Using paper, ribbon, or fabric strips is a great way to teach the weaving technique without the difficulty of preparing real flax. It is also safer for younger children as flax blades can be sharp.
When should Matariki crafts be displayed?
Matariki crafts are best displayed during the lunar period of Matariki, which typically occurs in June or July. Lanterns are beautiful at night, while kites should be flown on windy days during the celebration period.