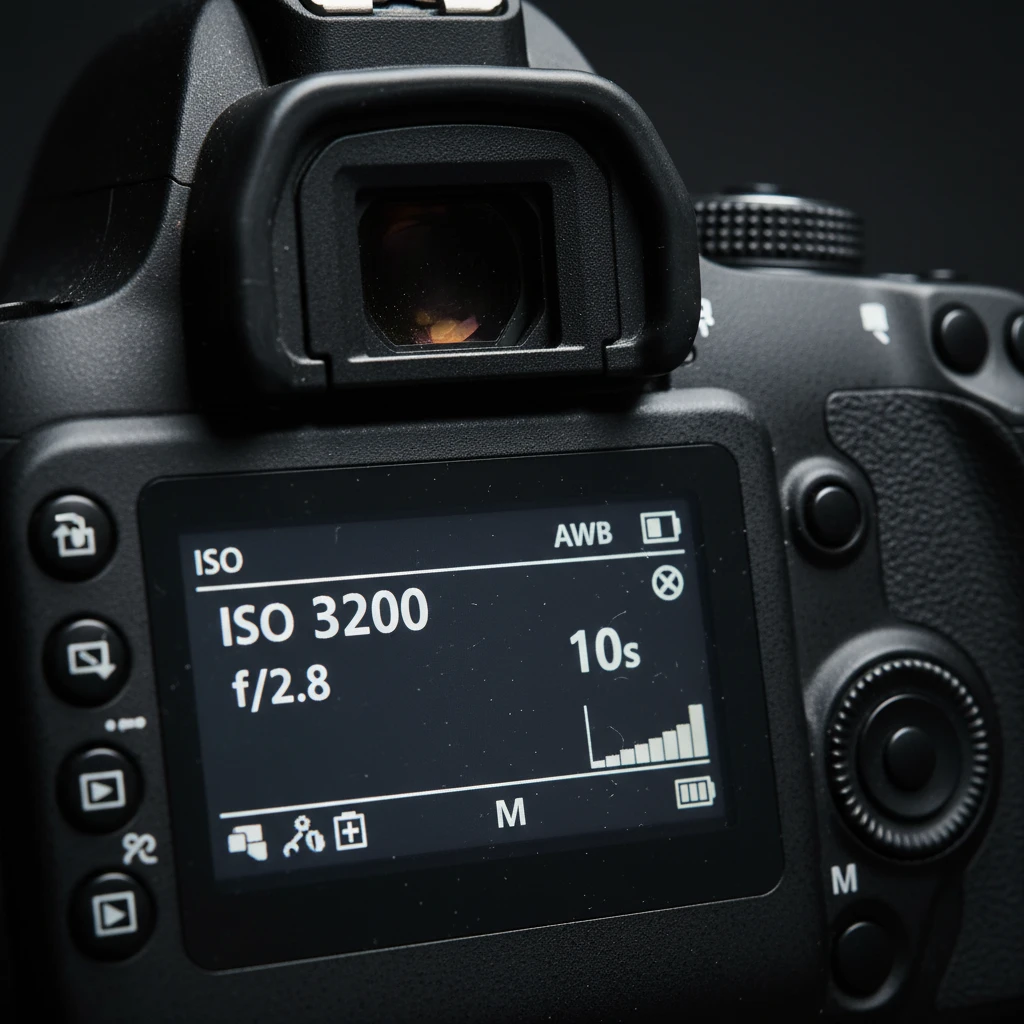
The optimal camera settings for aurora photography typically require Manual Mode with the aperture set to f/2.8 or wider to maximize light intake. Set your ISO between 1600 and 3200 to capture faint details without excessive noise, and use a shutter speed of 5 to 15 seconds. Always mount your camera on a sturdy tripod and manually focus the lens to infinity for sharp stars.
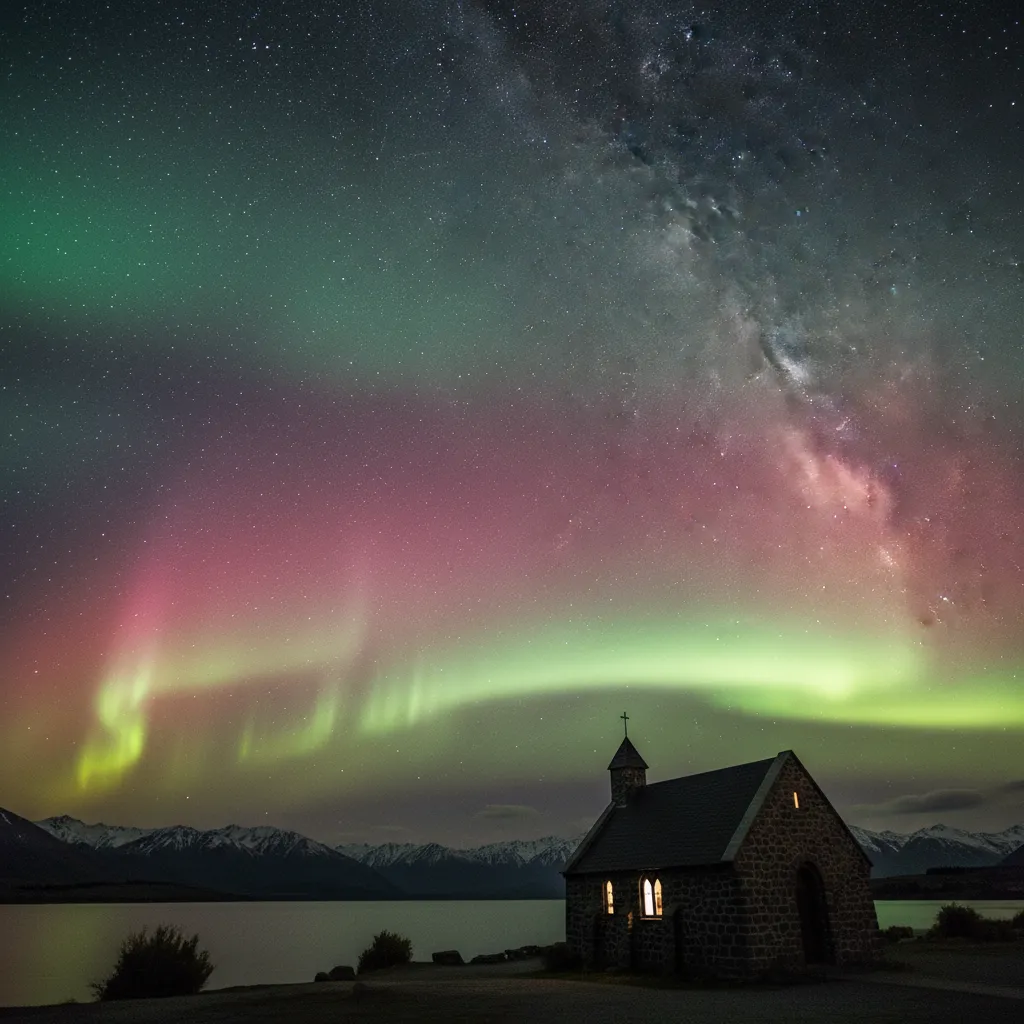
Capturing the elusive dance of the Aurora Australis, or the Southern Lights, is one of the most rewarding experiences for any photographer in Aotearoa New Zealand. Unlike standard night photography, shooting the aurora requires a specific blend of technical precision, environmental awareness, and patience. Whether you are standing on the shores of Lake Tekapo or braving the chill of Stewart Island (Rakiura), understanding how to manipulate your camera’s manual settings is the key to transforming a faint glow into a vibrant masterpiece.
Understanding the Aurora Australis in Aotearoa
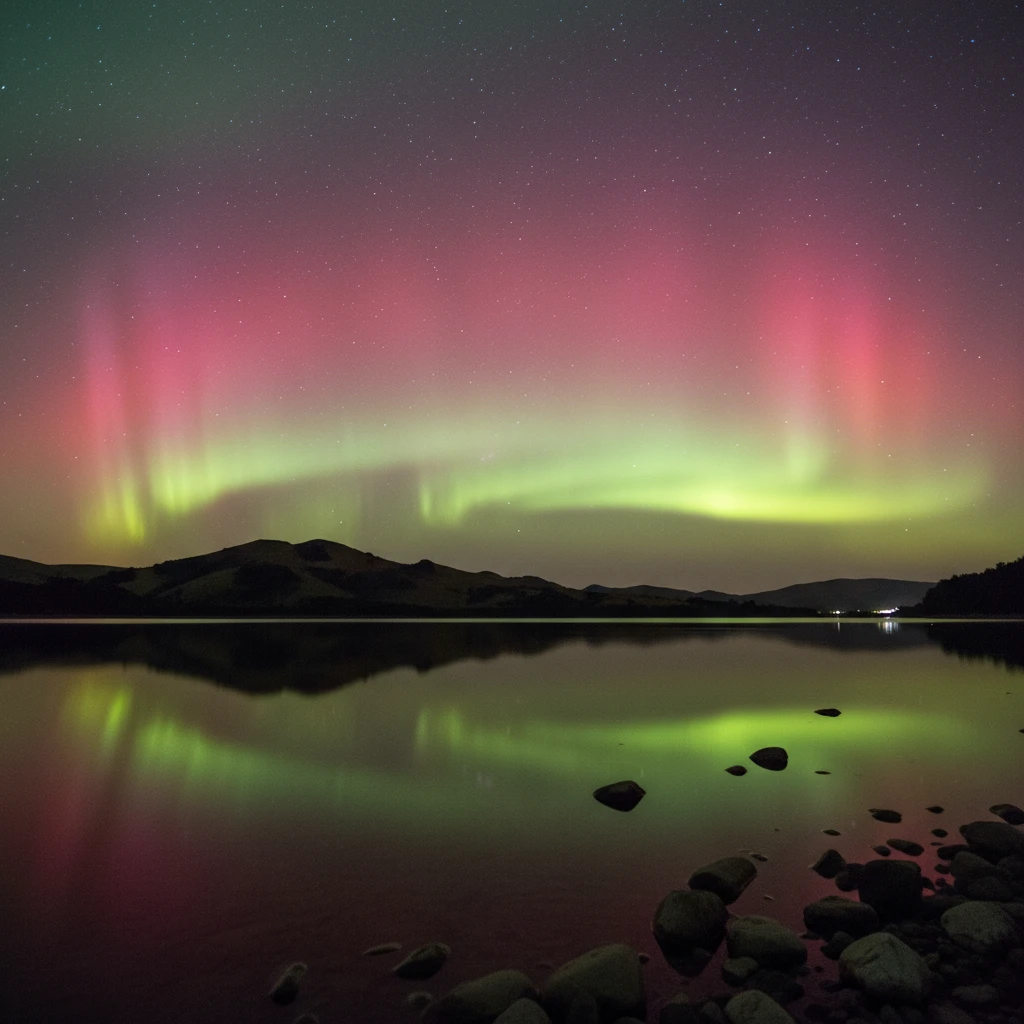
Before diving into the technicalities of camera settings for aurora, it is vital to understand the subject. The Aurora Australis differs slightly from its northern counterpart. In New Zealand, the magnetic pole is further away than in many Nordic locations, meaning the aurora often sits lower on the horizon and can appear more dynamic in color, ranging from subtle pinks and violets to deep reds, alongside the traditional greens.
In the context of New Zealand astronomy and Maramataka (the Māori lunar calendar), the night sky is not just a canvas but a narrative. The appearance of Nga Kahukura (the rainbow-like glowing skies) was often read as a sign. For the modern photographer, this cultural depth adds a layer of significance to the image. You aren’t just capturing ionized gas; you are capturing a phenomenon that has guided navigators and inspired legends for centuries.
Essential Camera Gear for Night Skies
While settings are crucial, your equipment forms the foundation of a successful shoot. You do not need the most expensive camera on the market, but specific attributes are necessary for low-light astrophotography.
1. The Camera Body
A camera with a Full-Frame sensor is ideal because it generally handles high ISO noise better than Crop Sensor (APS-C) or Micro Four Thirds cameras. However, modern crop-sensor cameras are increasingly capable. The key requirement is Manual Mode (M) capability, allowing you to control ISO, Aperture, and Shutter Speed independently.
2. Fast Wide-Angle Lens
The lens is arguably more important than the camera body. You need a wide field of view to capture the expanse of the sky and the landscape below. Look for a lens with a focal length between 14mm and 24mm (full-frame equivalent).
Crucially, the lens must be “fast,” meaning it has a wide maximum aperture. An aperture of f/2.8 is the standard recommendation. Lenses with f/1.4 or f/1.8 are even better, allowing you to lower your ISO for cleaner images.
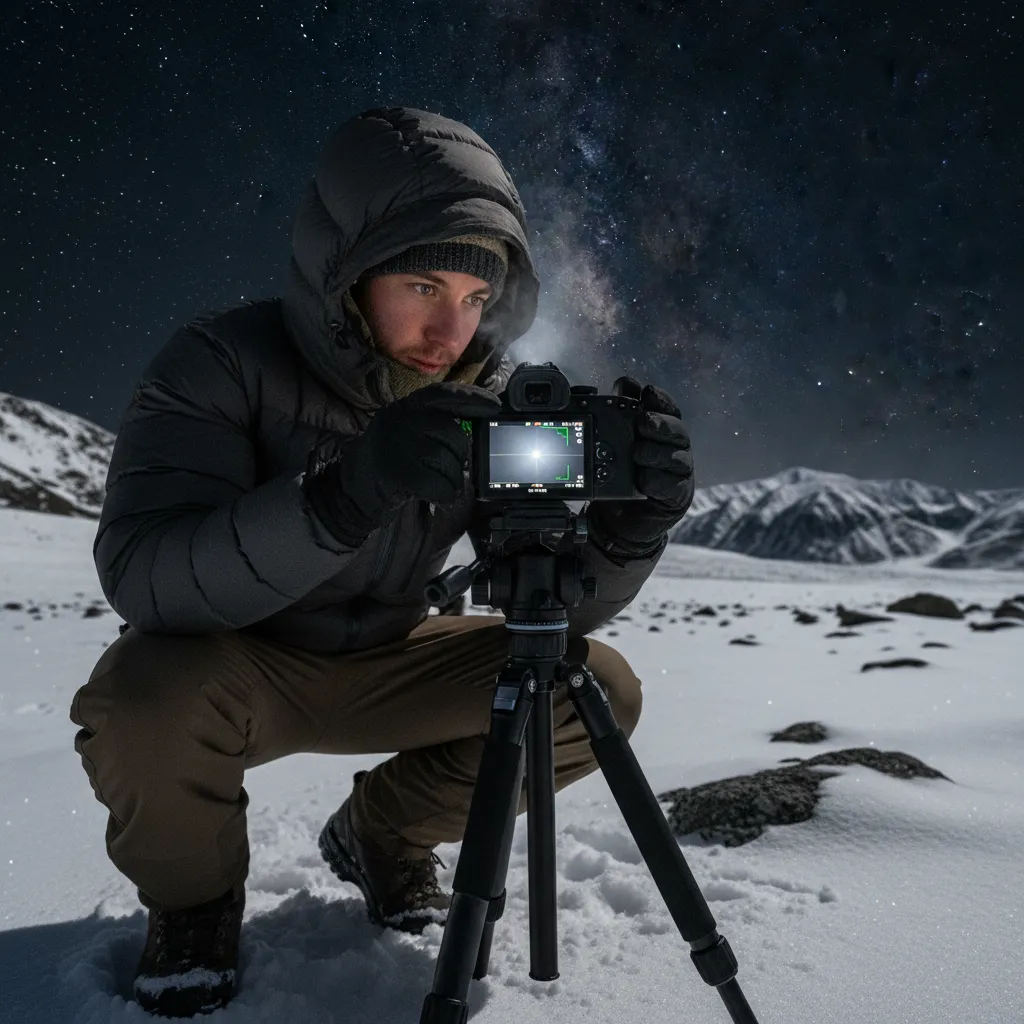
3. Sturdy Tripod
This is non-negotiable. Aurora exposures last several seconds. Handholding the camera will result in a blurry mess. In New Zealand’s rugged southern regions, wind is a constant factor. Invest in a heavy, sturdy tripod that won’t vibrate in a breeze. Hanging your camera bag from the center column can add extra stability.
Mastering Manual Settings: The Exposure Triangle
To capture the aurora effectively, you must balance the three pillars of the exposure triangle: Aperture, ISO, and Shutter Speed. Automatic modes will fail because the camera cannot meter correctly for a pitch-black sky with moving lights.
What is the Best Aperture for Aurora?
Set your aperture to the lowest possible number (f-stop). usually f/2.8, f/1.8, or f/1.4.
The aperture controls the size of the opening in your lens. A wider opening (lower f-number) lets in more light. Since you are shooting in the dark, you need every photon you can get. Shooting wide open also keeps your shutter speed manageable, preventing star trails.
How to Set ISO for Aurora Photography?
Start with an ISO between 1600 and 3200.
ISO determines your sensor’s sensitivity to light. A higher ISO allows the camera to see in the dark but introduces digital noise (grain).
- High-End Full Frame Cameras: You can often push ISO to 6400 or even 12800 comfortably.
- Entry-Level or Crop Sensor Cameras: Stick to ISO 1600 or 3200 to avoid ruining the image with noise.
If the aurora is very bright (a G3 or G4 storm), you might be able to drop the ISO to 800 for better image quality.
Determining the Correct Shutter Speed
Aim for a shutter speed between 5 and 20 seconds.
Shutter speed is the variable you will adjust most often during the night. It depends on the intensity of the aurora:
- Faint Aurora (low activity): You may need 15–25 seconds to register color.
- Active, Dancing Aurora: Use a faster shutter speed (5–10 seconds). If the exposure is too long during an active display, the distinct pillars and curtains will blur into a wash of color, losing detail.
The “500 Rule” for Sharp Stars
If your shutter speed is too long, the rotation of the earth will cause stars to streak (star trails). To keep stars as pinpoints, use the 500 Rule: Divide 500 by your lens’s focal length.
Example: If you are using a 20mm lens on a full-frame camera: 500 / 20 = 25 seconds. This is your maximum exposure time before stars trail.
White Balance
Do not use Auto White Balance (AWB). It will often render the scene too warm (orange) due to light pollution or too cool (blue). Manually set your White Balance to Kelvin (K) mode and choose a value between 3500K and 4000K. This cool white balance tends to render the night sky and the aurora colors most naturally.
How to Achieve Sharp Focus in the Dark
Autofocus rarely works in the dark. Your lens will hunt back and forth and fail to lock on. You must use manual focus.
Step-by-Step Focusing Method:
- Switch your lens or camera body to Manual Focus (MF).
- Turn on your camera’s Live View (look at the LCD screen, not the viewfinder).
- Find the brightest star in the sky or a distant light source on the horizon.
- Use the digital zoom button (magnifying glass icon) on your camera to zoom in on that star on the LCD screen (do not zoom the lens itself).
- Rotate the focus ring gently until the star becomes a tiny, sharp pinpoint of light. If it looks like a blurry donut, you are out of focus.
- Once focused, do not touch the focus ring again. Use a piece of gaffer tape to secure the ring if necessary.
Composition and Foreground Elements
A photo of just the sky can be beautiful, but a photo of the aurora anchoring a New Zealand landscape is world-class. The foreground provides scale and context.
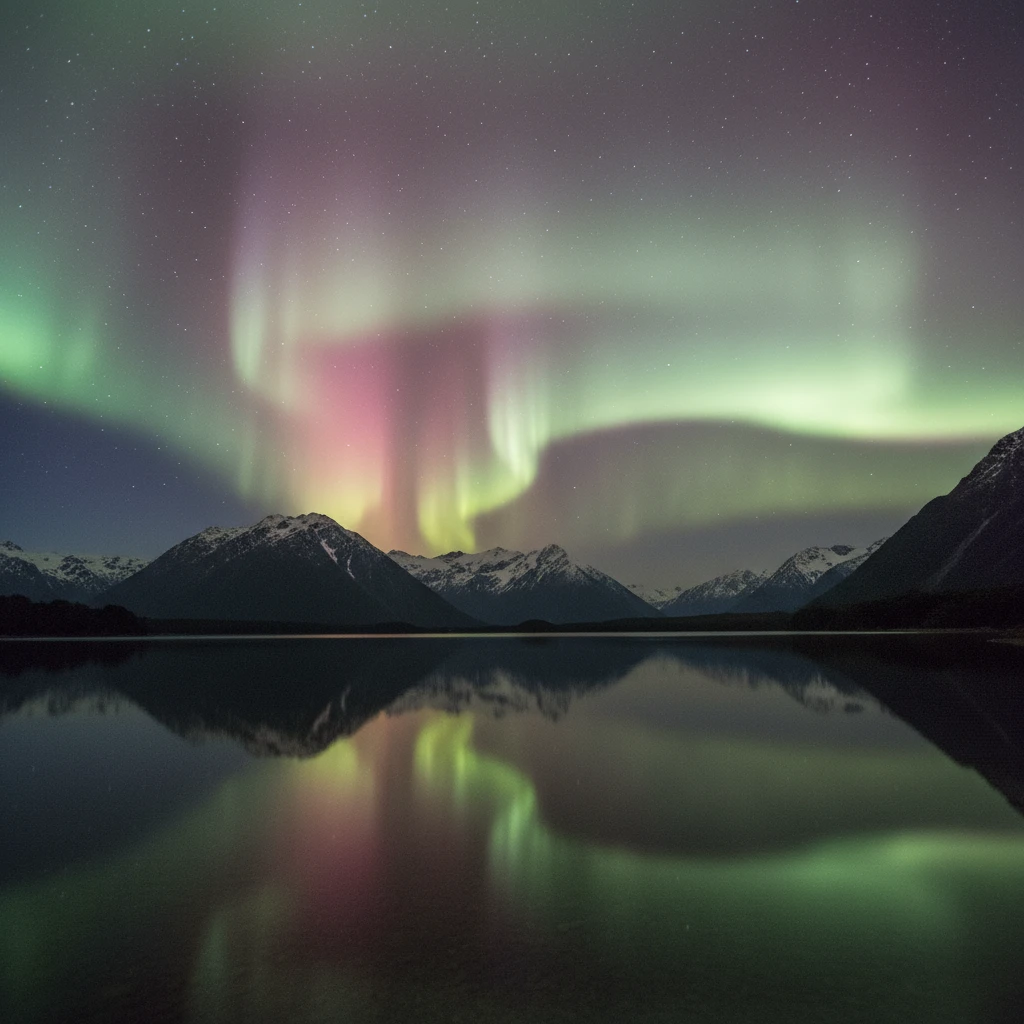
In New Zealand, water is a powerful element. Reflections in calm lakes (like Lake Tekapo or Lake Hawea) essentially double the amount of aurora in your frame. When composing, keep the horizon straight. Consider using a flashlight or “light painting” (Low Level Lighting) to very subtly illuminate a tree, rock, or building in the foreground. This technique balances the exposure, ensuring the foreground isn’t a complete silhouette.
Planning: Maramataka and Weather
Successful aurora hunting is 90% planning and 10% shooting.
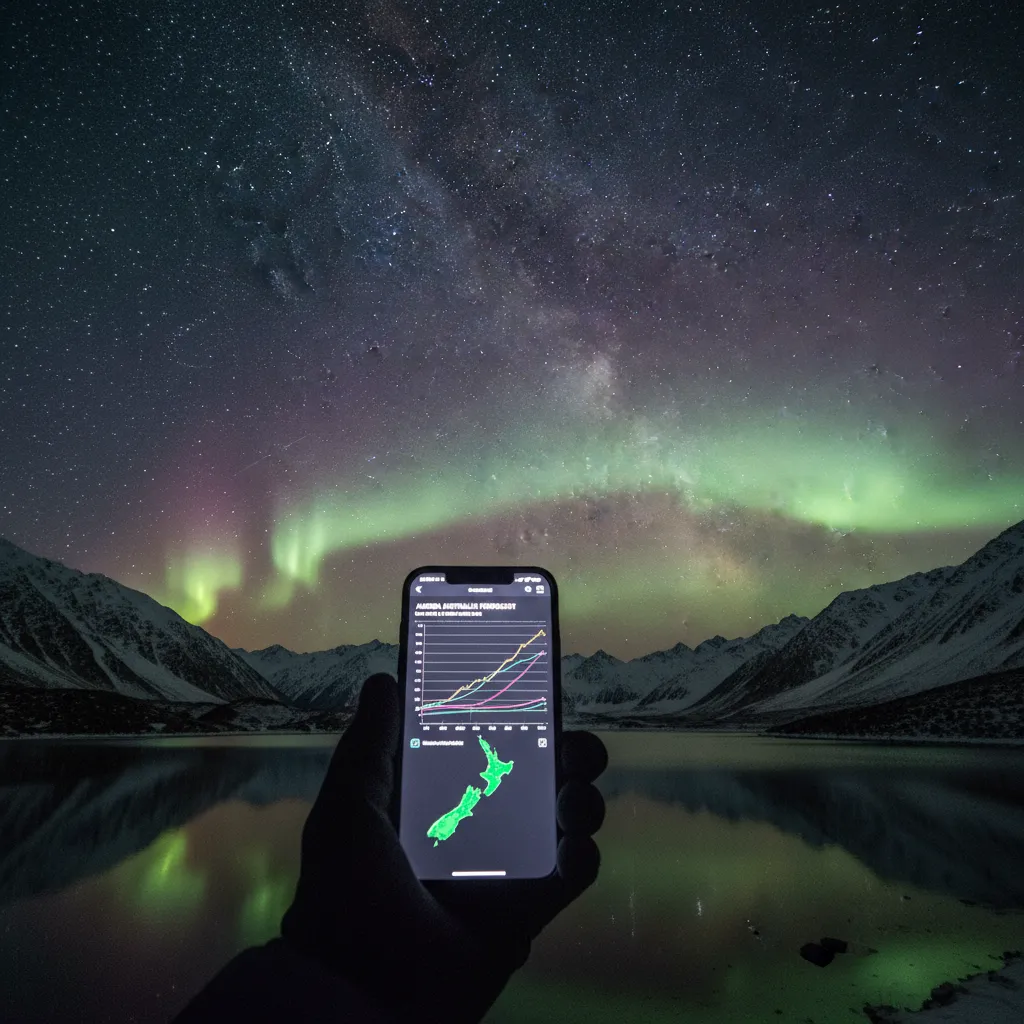
Monitoring Solar Activity
You need a geomagnetically active sun. Use apps like Solar Monitor or Glendale App to track the Kp index (planetary K-index) and Bz (magnetic field orientation). For New Zealand, a Kp of 4 or higher usually yields good visibility in the South Island. A negative Bz (southward pointing magnetic field) is crucial for the solar wind to enter the atmosphere.
The Moon and Maramataka
Light from the moon can wash out faint auroras. Consult the Maramataka or a lunar calendar. The ideal time to shoot is during the Whiro (New Moon) phase when the skies are darkest. However, a quarter moon can sometimes be beneficial, providing just enough light to illuminate the landscape without overpowering the aurora.
Weather Watch
New Zealand weather is volatile. Use MetService or YR.no to check for cloud cover. You need clear skies. High cirrus clouds can sometimes reflect city lights and ruin a shot, while low clouds will block the view entirely.
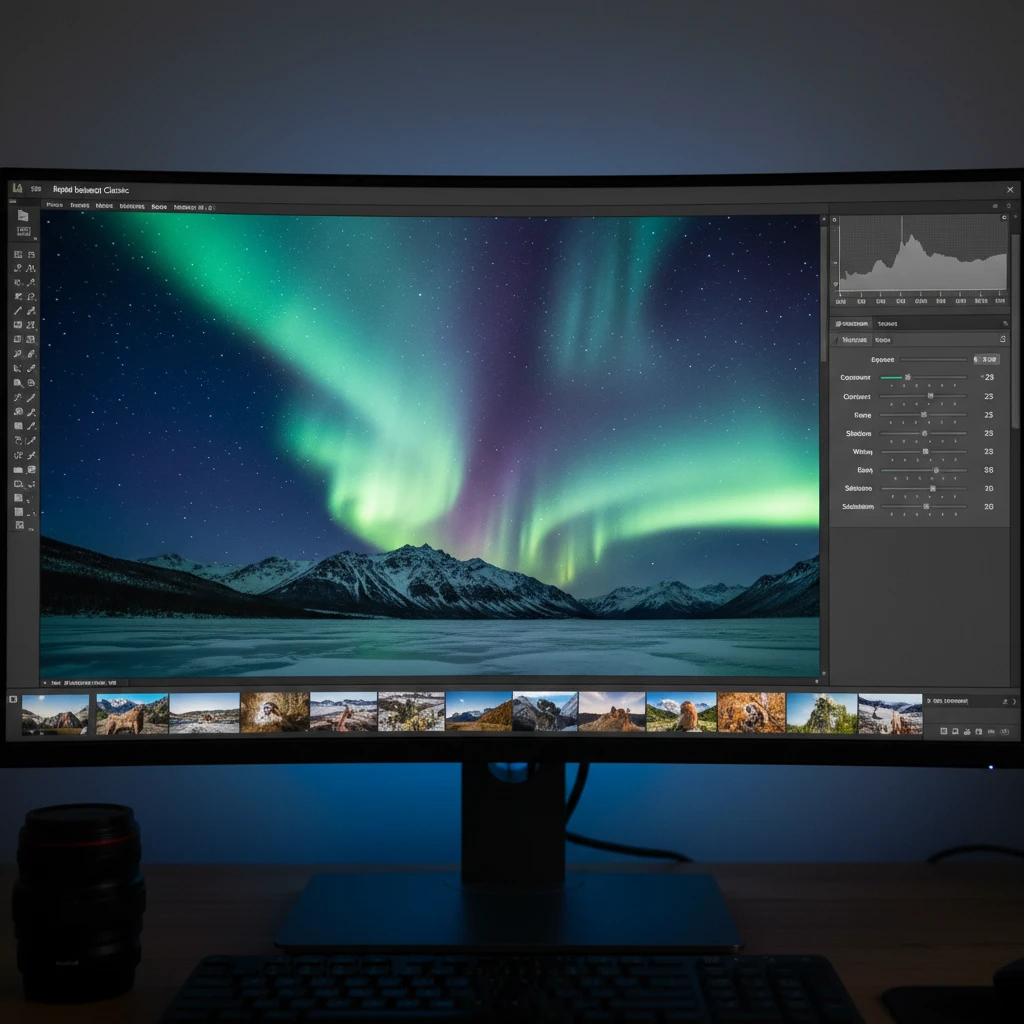
Post-Processing Tips for Aurora Photos
Raw files straight out of the camera often look flat. Post-processing is where you bring the image to life, but subtlety is key.
- White Balance: If you shot in RAW, you can adjust this in post. Aim for a neutral sky background (dark grey/blue) rather than muddy brown.
- Contrast and Dehaze: Boosting contrast helps separate the aurora from the background sky. The “Dehaze” slider in Lightroom is particularly effective for astrophotography but use it sparingly to avoid introducing noise.
- Noise Reduction: High ISO images will be grainy. Use luminance noise reduction to smooth out the grain, but be careful not to lose the sharpness of the stars.
- HSL Sliders: You can selectively saturate the greens, magentas, and reds to make the aurora pop. Avoid over-saturating, which leads to color banding.
Mastering camera settings for aurora is a journey of experimentation. Every night is different; the intensity of the solar storm, the ambient moonlight, and the landscape all dictate slight adjustments to your exposure triangle. By starting with these baseline settings and adapting to the conditions of the New Zealand night sky, you are well on your way to capturing the magic of the Southern Lights.
People Also Ask
What is the best ISO for aurora photography?
The best ISO typically ranges between 1600 and 3200 for most consumer cameras. This range strikes a balance between sensor sensitivity (to pick up the faint light of the aurora) and image quality (keeping digital noise to a manageable level). Full-frame cameras may handle ISO 6400 well, while older models may require ISO 800-1600.
Can I photograph the aurora with an iPhone?
Yes, modern iPhones (11 and later) with Night Mode can capture the aurora. Use a tripod to keep the phone steady, enabling the maximum exposure time (usually 10-30 seconds). While the quality won’t match a DSLR, it is sufficient for social media and personal memories.
Why are my aurora photos blurry?
Blurry aurora photos are usually caused by camera movement or missed focus. Ensure you are using a sturdy tripod and a remote shutter release (or 2-second timer) to prevent shake. Additionally, confirm your lens is manually focused to infinity, as autofocus often fails in the dark.
What lens is best for the Northern/Southern Lights?
A wide-angle lens with a fast aperture is best. Look for a focal length of 14mm to 24mm to capture the vast sky, and an aperture of f/2.8 or lower (f/1.4 is ideal) to let in maximum light. Popular choices include the Samyang 14mm f/2.8 or the Sigma 14-24mm f/2.8.
How do I avoid star trails in my photos?
To avoid star trails, follow the “500 Rule”: Divide 500 by your lens’s focal length (in mm) to get the maximum exposure time in seconds. For example, with a 24mm lens, 500 / 24 = approximately 20 seconds. Exposures longer than this will show star movement.
What is the best time to see the Aurora in New Zealand?
The Aurora Australis can be seen year-round, but the best viewing season is during the winter months (March to September) due to longer nights. The clearest views occur during the New Moon phase when the sky is darkest, and typically between 10 PM and 2 AM.