Stargazing equipment reviews in NZ prioritize high-aperture optics capable of resolving deep-sky objects unique to the Southern Hemisphere, such as the Magellanic Clouds. Key evaluation factors for New Zealand astronomers include light-gathering power for dark sky reserves, dew resistance for maritime climates, and portability for rugged terrain access.
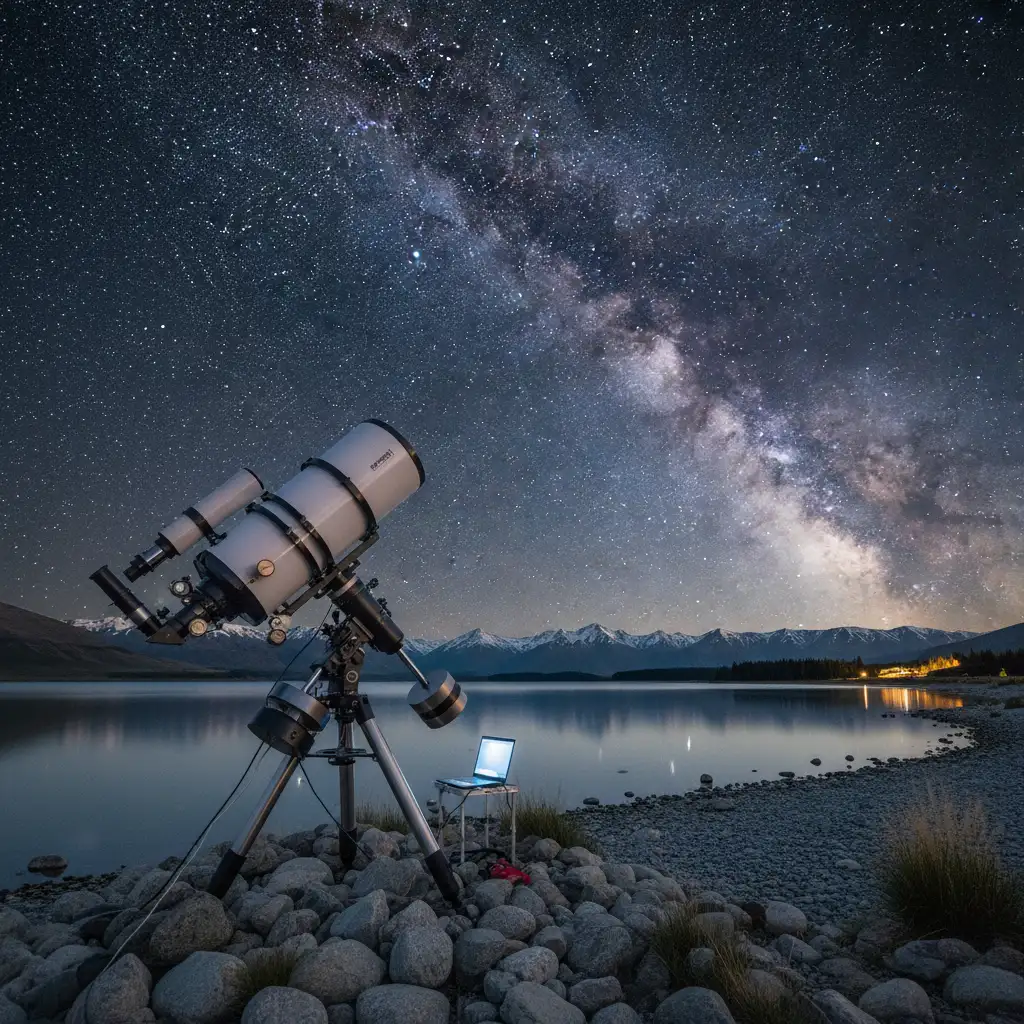
New Zealand is widely regarded as one of the premier astronomical destinations on Earth. With vast swathes of the country designated as Dark Sky Sanctuaries—including the famous Aoraki Mackenzie International Dark Sky Reserve—the demand for high-quality optical gear is substantial. However, the unique atmospheric conditions and celestial targets of the Southern Hemisphere require specific equipment considerations. This guide provides authoritative stargazing equipment reviews for the NZ market, helping you navigate the technical specifications required to capture the Aurora Australis or observe the rise of Matariki.
Choosing the Right Equipment for Southern Skies
When conducting stargazing equipment reviews in NZ, the first variable to consider is the geography. Unlike the northern hemisphere, where the Pole Star (Polaris) provides an easy reference for alignment, New Zealand astronomers must align their equatorial mounts to the Southern Celestial Pole (SCP), specifically near the star Sigma Octantis. This technical nuance impacts the type of mount you should choose.
Furthermore, the objects of interest in our skies—such as the Carina Nebula, the Jewel Box Cluster, and the Large and Small Magellanic Clouds—are often best viewed with wide-field instruments. While high magnification is excellent for planetary viewing (Jupiter and Saturn), the “deep sky” treasures of the south often require “fast” focal ratios (f/4 to f/6).
Why Aperture Rules the Dark Reserves
The primary function of any telescope is to gather light, not just to magnify. In New Zealand, where light pollution is minimal outside of Auckland and Wellington, a larger aperture (the diameter of the main lens or mirror) provides a significant advantage. An 8-inch (200mm) aperture is often cited in NZ reviews as the “sweet spot” for visual astronomy. It gathers enough light to resolve faint globular clusters but remains portable enough to transport to remote locations like Great Barrier Island or Stewart Island.
Telescope Types: Refractors vs. Reflectors in NZ
The market is generally divided into three main categories. Understanding these is crucial before making a commercial decision.
1. Dobsonians (Reflectors)
For pure visual observation, the Dobsonian is the undisputed champion of value per dollar in New Zealand. These use a mirror to gather light and sit on a simple, sturdy rocker box. Because you aren’t paying for a complex computerized mount, your money goes into the optics. A 10-inch Dobsonian can be purchased for the same price as a much smaller computerized telescope. They are ideal for scanning the Milky Way core, which passes directly overhead in NZ winters.
2. Refractors
Refractors use lenses and are generally more robust and require less maintenance. High-end Apochromatic (APO) refractors are the gold standard for astrophotography in NZ. They produce crisp, high-contrast images without the “diffraction spikes” seen in reflectors. However, large aperture refractors become exponentially expensive. They are preferred by those targeting the planets or engaging in wide-field photography.
3. Catadioptric (Compound)
These telescopes, such as Schmidt-Cassegrains, fold the light path to create a compact tube with a long focal length. They are excellent all-rounders and very portable, making them popular for Kiwi astronomers who travel to star parties. However, they are prone to dew buildup on the front corrector plate—a significant issue in NZ’s humid climate.
Gear for Aurora Australis and Astrophotography
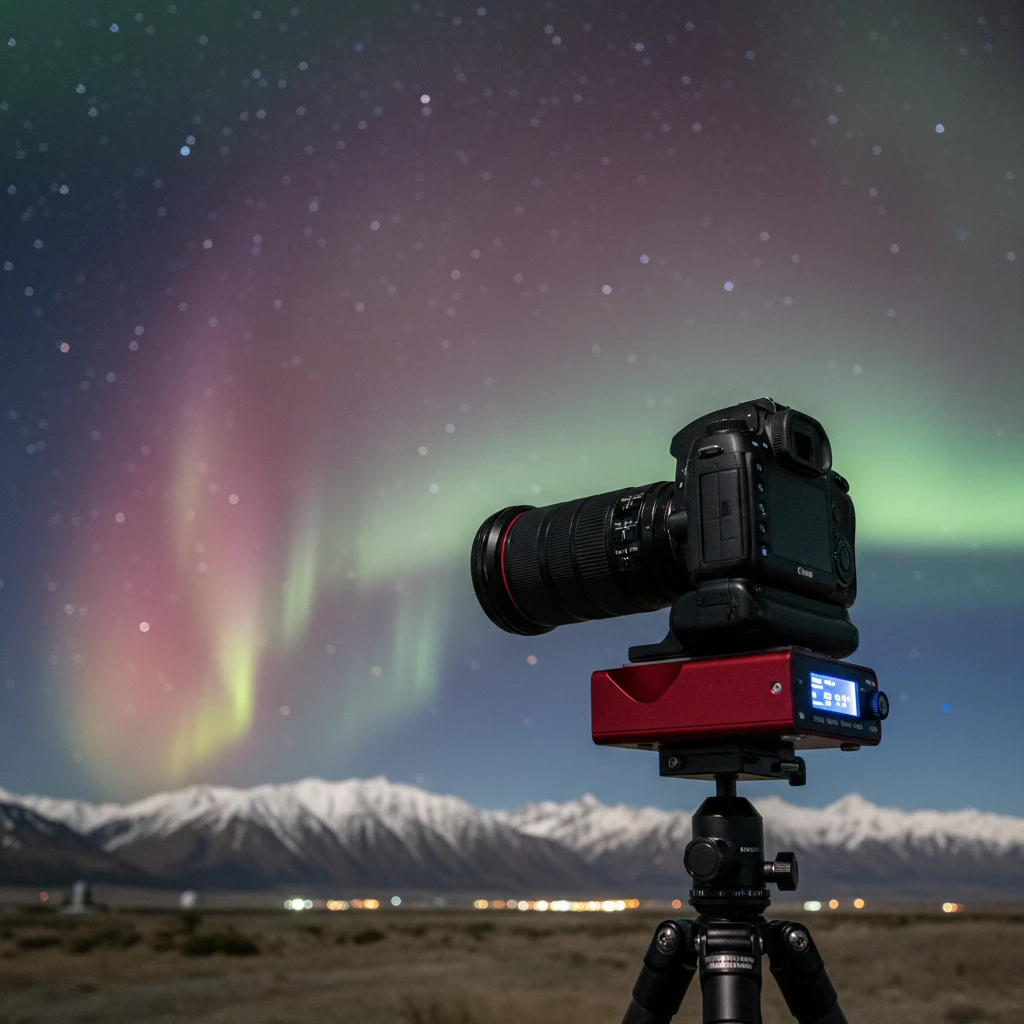
With the solar cycle peaking, interest in photographing the Aurora Australis (Southern Lights) has skyrocketed. Standard visual telescopes are often ill-suited for this; instead, the focus shifts to camera tracking mounts and wide-angle optics.
Star Trackers
For capturing the Aurora or the expanse of the Milky Way, a Star Tracker (like the Sky-Watcher Star Adventurer or iOptron SkyGuider) is essential. These devices fit between your tripod and camera, rotating at the same speed as the Earth to eliminate star trails during long exposures. In NZ reviews, portability is a key metric here, as aurora hunters often hike to elevated positions to clear the southern horizon.
Cameras and Lenses
You do not need a telescope to shoot the Aurora. A DSLR or Mirrorless camera with a wide-angle lens (14mm to 24mm) and a fast aperture (f/2.8 or lower) is ideal. The goal is to capture as much light as possible in 10 to 20 seconds. Specialized “clip-in” light pollution filters are also popular for those shooting near Christchurch or Dunedin, helping to isolate the specific wavelengths of oxygen and nitrogen emissions.
Budget vs. Professional Gear: What Do You Get?
The price disparity in stargazing equipment can be shocking to newcomers. Here is a breakdown of what to expect at different price points within the New Zealand market.
Entry-Level ($300 – $800 NZD)
At this tier, caution is advised. Many “department store” telescopes promise high magnification (e.g., “600x Power!”) but deliver shaky, blurry views. In this range, a high-quality pair of 10×50 or 15×70 astronomy binoculars is often a better investment than a cheap telescope. If a telescope is required, look for a tabletop Dobsonian (130mm aperture). These offer stable views and decent light gathering for the price.
Mid-Range Enthusiast ($1,000 – $3,500 NZD)
This is the sweet spot for serious hobbyists. In this range, you can acquire an 8-inch or 10-inch Dobsonian, or a decent computerized GoTo telescope that can automatically locate thousands of objects. For astrophotographers, this budget secures a reliable equatorial mount (like the HEQ5) and a small doublet refractor. The optics here are generally diffraction-limited, meaning they are virtually perfect within the laws of physics.
Professional / Observatory Class ($5,000+ NZD)
At this level, you are paying for mechanical precision and optical perfection. Mounts in this class can track stars with sub-arcsecond accuracy, essential for long-exposure imaging. Optics include triplet Apochromatic refractors or large Ritchey-Chrétien astrographs. This gear is built to last a lifetime and is often found in the private observatories dotting the Otago and Canterbury regions.
Maintenance in NZ Conditions: Fighting Moisture
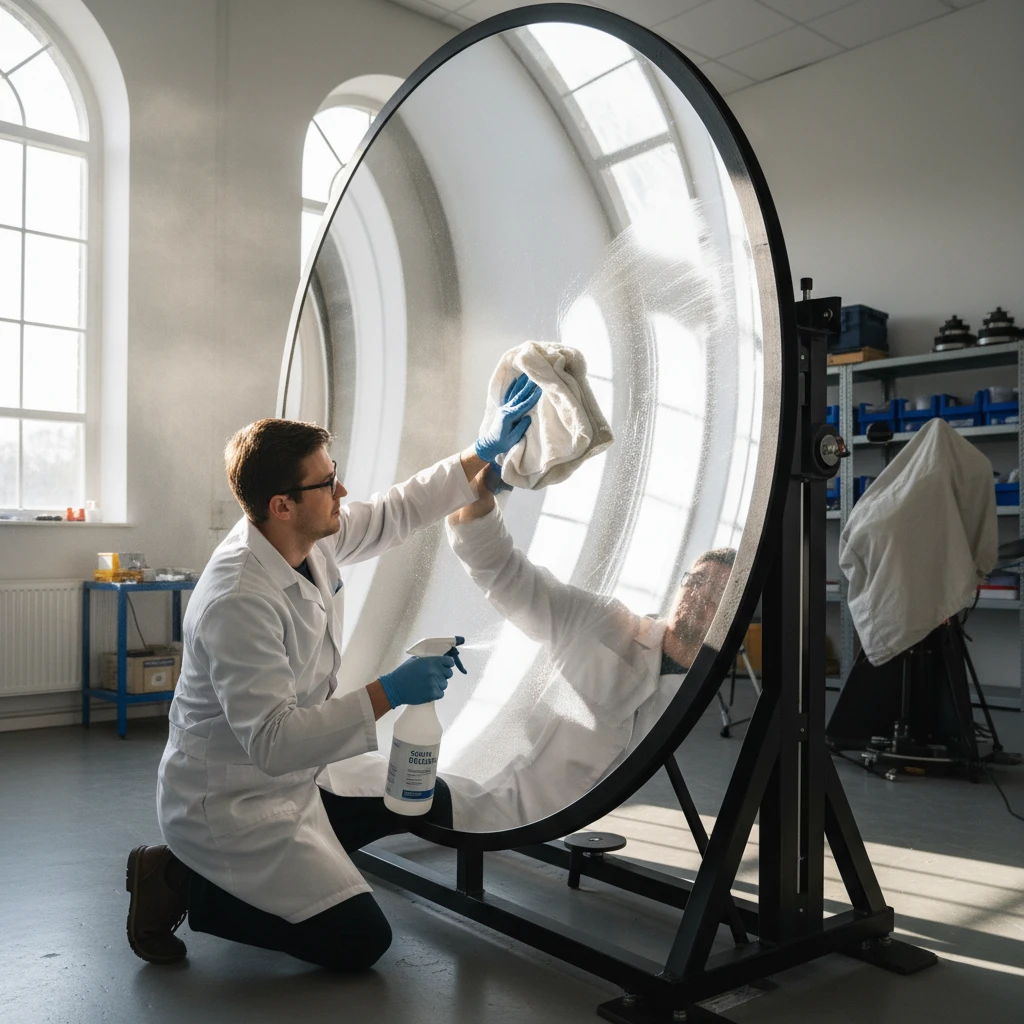
New Zealand is an island nation, which presents a specific challenge for optics: salt air and high humidity. Equipment reviews must address the durability of coatings and mechanics in these conditions.
Dew Control Systems
Dew is the enemy of the NZ astronomer. As temperatures drop at night, moisture condenses on lenses and mirrors, ending your viewing session instantly. Active dew control is not a luxury; it is a necessity. This involves electrically heated “dew bands” that wrap around the optics to keep them slightly above the dew point. When budgeting for gear in NZ, always factor in an extra $200-$300 for a controller and heater strips.
Collimation and Travel
New Zealand roads can be winding and occasionally rough, especially when accessing dark sky sites. Newtonian reflectors (Dobsonians) require “collimation” (optical alignment) after transport. A laser collimator is an essential accessory. High-end gear often features stiffer springs and locking screws to hold collimation better during transport across the Southern Alps.
Equipment for Maramataka and Cultural Astronomy
There is a growing movement in New Zealand to reconnect with Maramataka (the Māori lunar calendar) and celestial navigation. This shifts the equipment focus slightly from high-magnification deep space viewing to wide-field horizon observation.
Observing Matariki (The Pleiades)
The rise of Matariki marks the Māori New Year. Because this is a large open star cluster, telescopes with high magnification often zoom in too far, cutting out some of the stars. The best equipment for observing Matariki is a pair of high-quality binoculars (e.g., 7×50 or 8×42) or a small “rich-field” refractor telescope. These instruments provide a wide field of view (5 to 7 degrees), allowing the observer to see the entire cluster in context with the horizon.
Where to Buy Stargazing Equipment in NZ
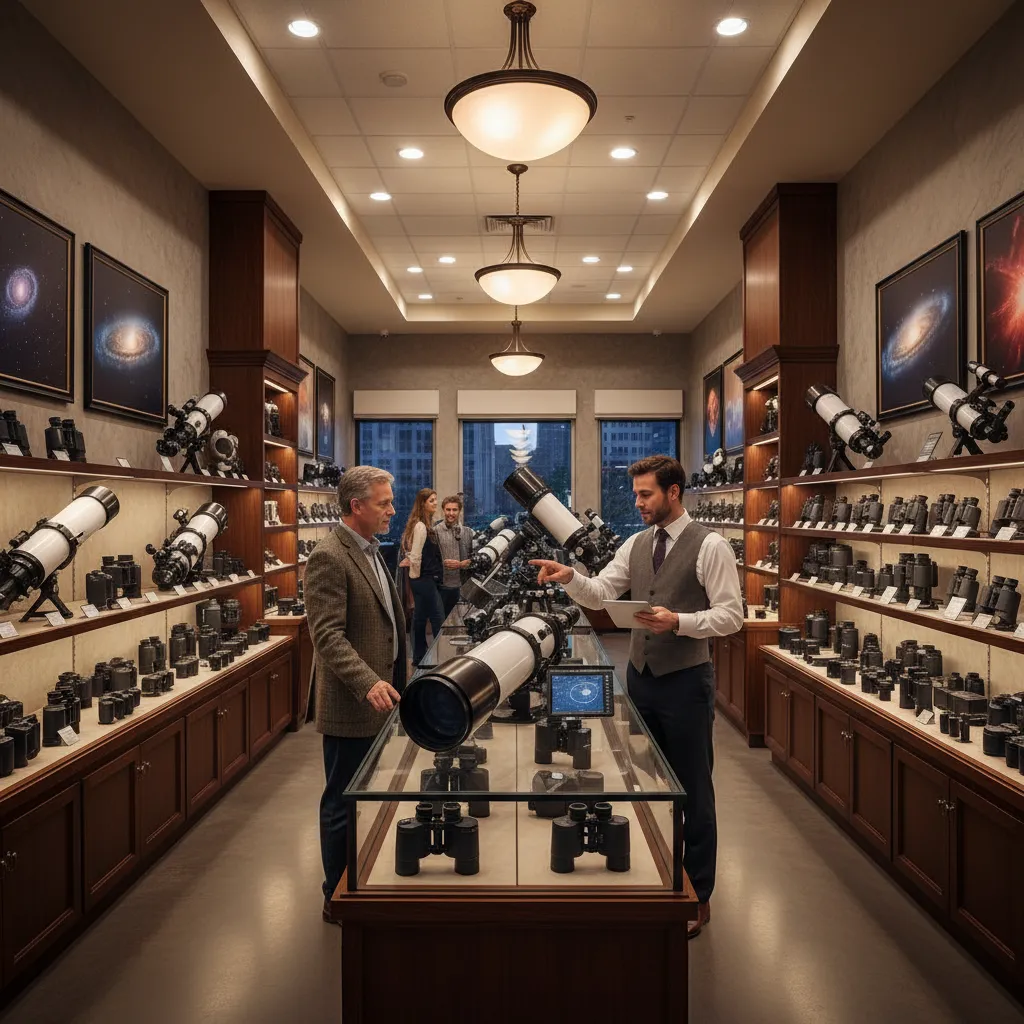
While international shipping is an option, buying locally in New Zealand is highly recommended for warranty support and shipping safety (glass optics are fragile). Local retailers also understand the specific alignment needs of southern hemisphere mounts.
Specialized Retailers
Avoid general electronics stores or department stores when buying serious gear. Specialized astronomy shops in NZ employ active astronomers who can offer genuine advice. Look for retailers who offer:
- Pre-delivery checks: Ensuring the optics are not pinched or damaged.
- Local warranties: Essential for electronics and motorized mounts.
- After-sales support: Help with collimation or software setup.
Reputable local suppliers often stock major brands like Sky-Watcher, Celestron, GSO, and iOptron. They can also advise on the specific adapters needed to connect your DSLR camera to a telescope, a common stumbling block for beginners.
Conclusion
Investing in stargazing equipment in New Zealand is a gateway to some of the finest dark skies on the planet. Whether you choose a rugged Dobsonian for visual tours of the Milky Way or a precision refractor for capturing the Aurora, ensuring your gear is suited to the maritime climate and southern latitude is critical. Prioritize aperture, plan for dew control, and buy from reputable local experts to ensure your journey into the southern stars is a success.
What is the best telescope for beginners in NZ?
For most beginners in New Zealand, an 8-inch Dobsonian telescope is the most recommended choice. It offers the best balance of aperture (light gathering), ease of use, and price. It is powerful enough to show detail on planets and deep-sky objects without the complexity of computerized mounts.
How much does a good telescope cost in New Zealand?
A high-quality entry-level telescope typically costs between $600 and $1,000 NZD. Mid-range equipment suitable for serious hobbyists ranges from $1,500 to $3,000 NZD. Professional-grade astrophotography rigs can easily exceed $5,000 NZD.
Can I see the Aurora Australis with a telescope?
Generally, no. The Aurora Australis is a large-scale atmospheric phenomenon best viewed with the naked eye or captured with a wide-angle camera lens. Telescopes have a very narrow field of view and are designed for small, distant objects, making them unsuitable for the sweeping curtains of the aurora.
Do I need a computerized mount in NZ?
It depends on your goals. For visual observing, a manual mount is often sufficient and more cost-effective. However, if you plan to do long-exposure astrophotography, a computerized equatorial mount is essential to track the stars and counter the earth’s rotation accurately.
What is the best brand of telescope to buy in NZ?
Sky-Watcher, Celestron, and GSO (Guan Sheng Optical) are the most popular and reliable mass-market brands available in New Zealand. High-end brands like Takahashi or Televue are also available through specialized importers for advanced users.
Why do I need dew heaters in New Zealand?
New Zealand has a maritime climate with high humidity. As the temperature drops at night, moisture condenses on telescope optics (dew), making them foggy and unusable. Dew heaters keep the optics slightly warmer than the air temperature to prevent this condensation.