Stargazing binoculars are specialized optical instruments designed with large objective lenses (typically 50mm or larger) to gather maximum light for astronomical viewing. Unlike standard daytime binoculars, they prioritize exit pupil size, edge-to-edge clarity, and high-transmission lens coatings to reveal faint deep-sky objects like nebulae and star clusters, making them an essential tool for navigating New Zealand’s dark skies.
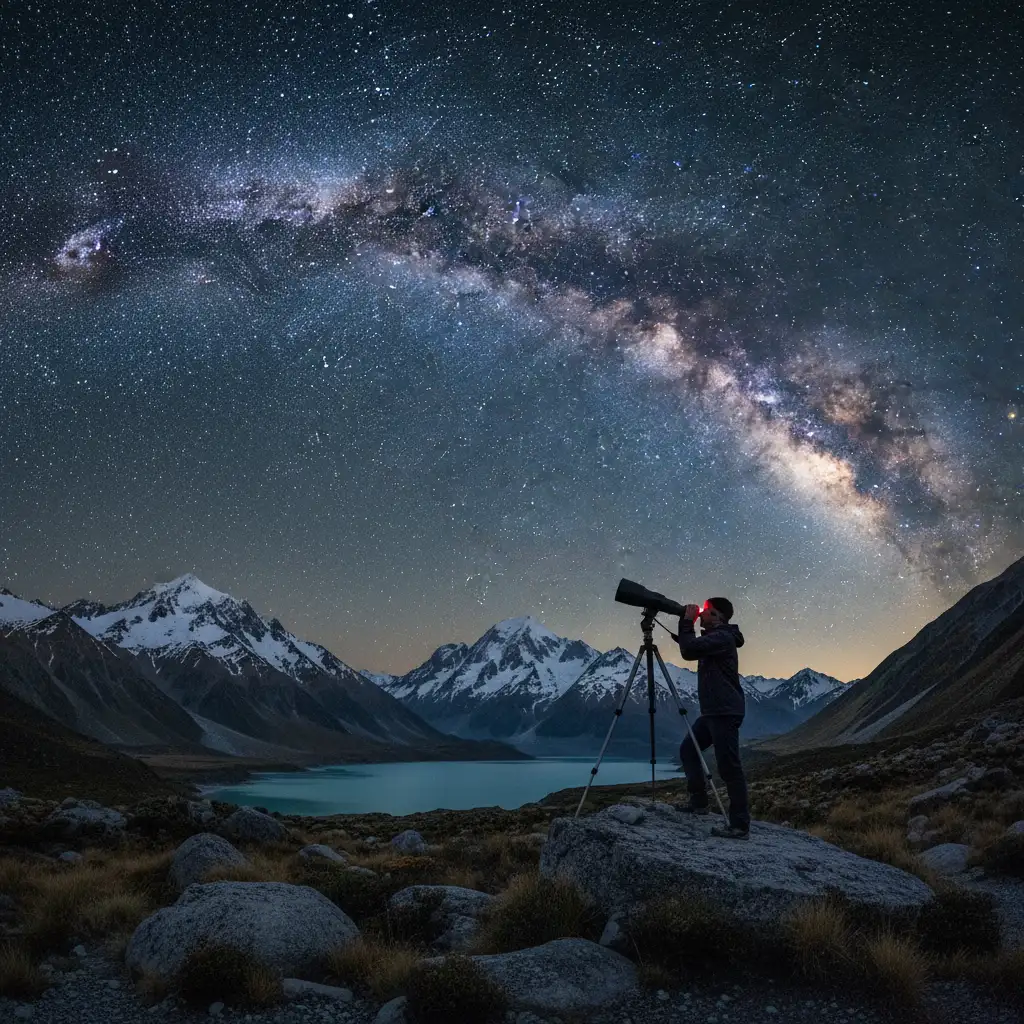
New Zealand offers some of the pristine dark skies on the planet, from the Aoraki Mackenzie International Dark Sky Reserve to the sanctuary of Great Barrier Island (Aotea). Whether you are hunting for the Aurora Australis or observing the rise of Matariki, choosing the right optical gear is critical. While telescopes often get the glory, a high-quality pair of binoculars is often the superior choice for both beginners and seasoned astronomers. In this comprehensive stargazing binoculars review, we analyze the best optics available in the NZ market to help you make an informed investment.
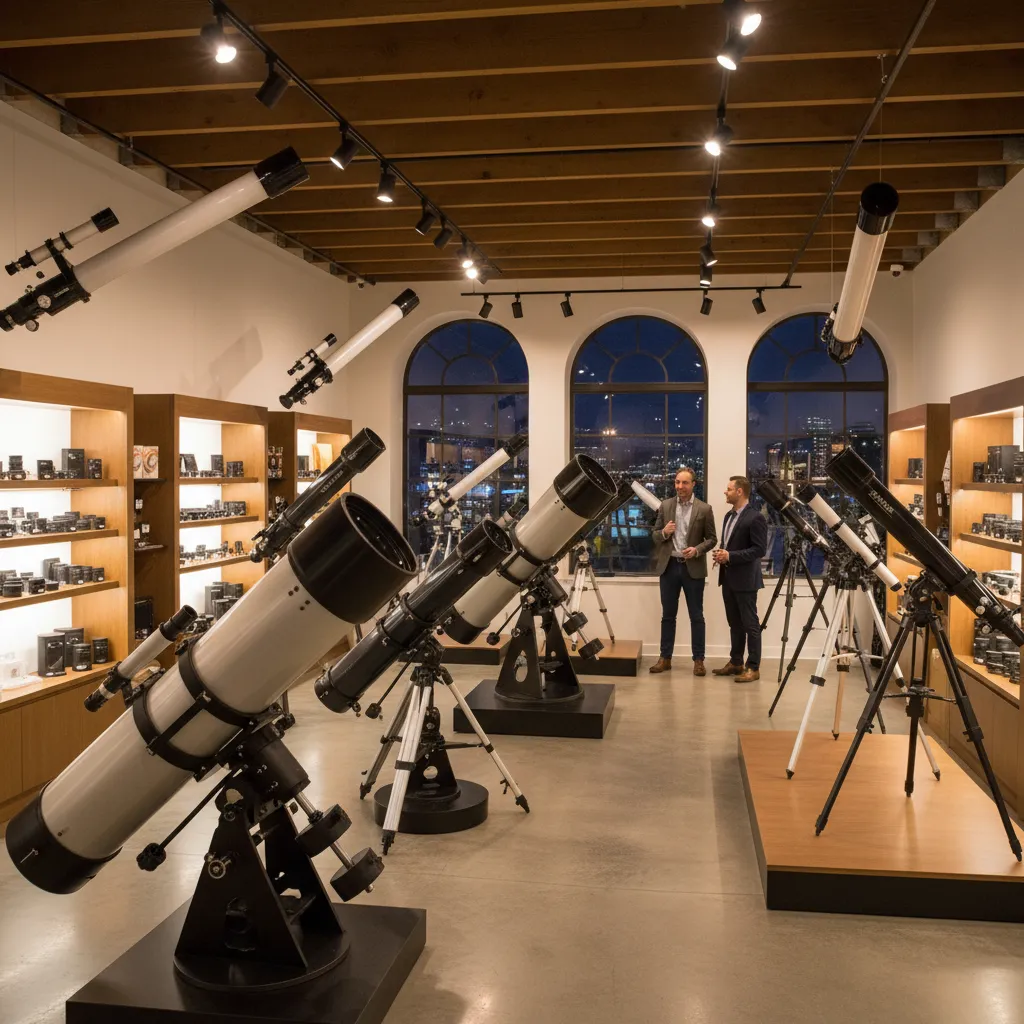
Binoculars vs. Telescopes: Which is Right for You?
Many aspiring astronomers in New Zealand rush to buy a telescope, only to find it gathering dust in a garage due to its complexity. For the commercial buyer looking for value and usability, binoculars often represent the smarter entry point into astronomy.
Why choose binoculars over a telescope?
Binoculars offer a wide field of view, allowing you to scan the Milky Way and locate constellations with ease. This context is lost in the narrow field of a telescope. Furthermore, using two eyes (binocular vision) provides a 3D-like effect and improves contrast perception—a phenomenon known as binocular summation. This makes faint objects appear up to 40% brighter than they would through a single telescope eyepiece of the same size.
Key Advantages:
- Portability: Essential for chasing clear skies or traveling to dark sky sanctuaries.
- Ease of Use: No polar alignment or complex setup required; just point and look.
- Versatility: Can be used for birdwatching or scenic viewing during the day.
- Cost-Effectiveness: A $300 NZD pair of binoculars usually offers better optical quality than a $300 telescope.
Understanding the Numbers: Magnification and Aperture
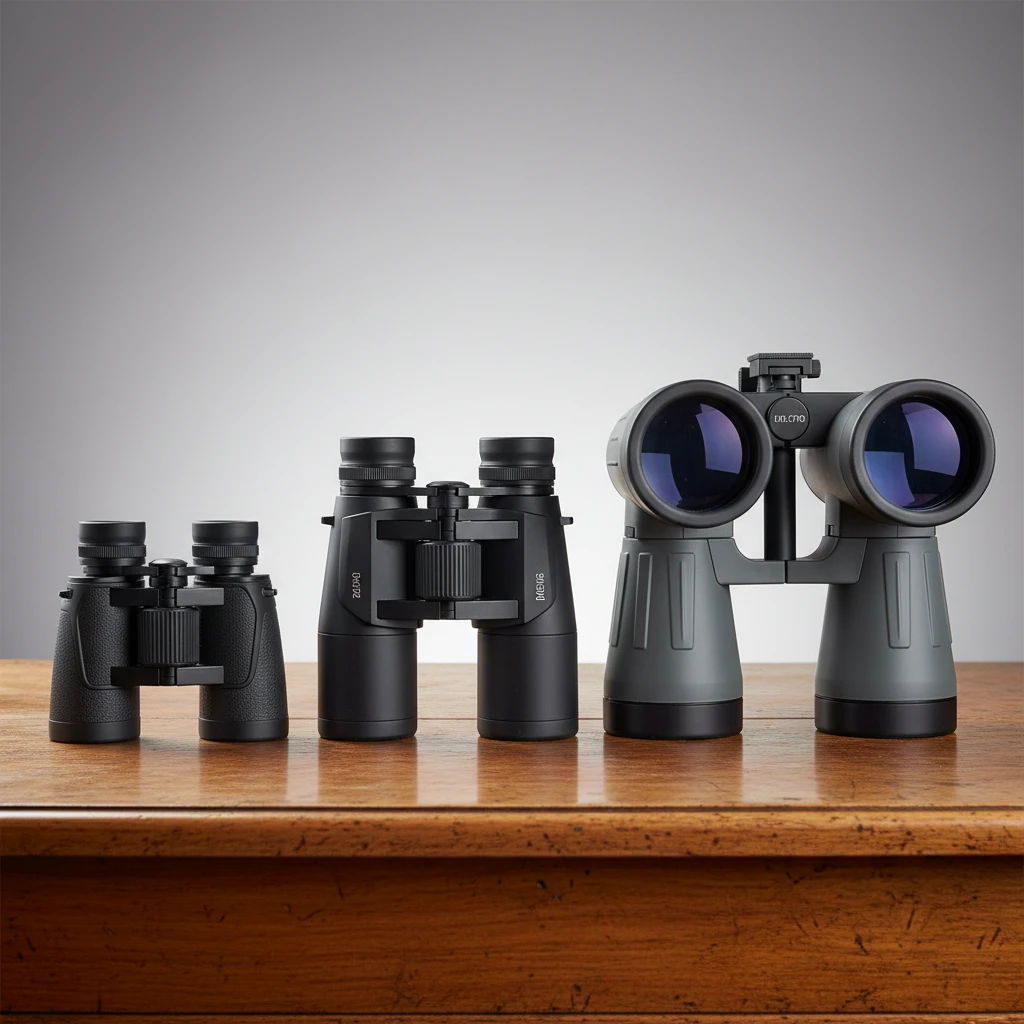
When shopping for stargazing binoculars, you will encounter two numbers separated by an ‘x’, such as 10×50 or 15×70. Understanding these metrics is vital for interpreting any stargazing binoculars review.
What do the numbers 10×50 mean?
The first number (10x) refers to the magnification power, while the second number (50) refers to the diameter of the objective lenses in millimeters. For astronomy, the second number is crucial because aperture dictates light-gathering ability. A 50mm lens gathers significantly more light than a 42mm lens, revealing fainter stars.
Common Configurations:
- 7×50: Excellent for beginners. Low magnification minimizes hand-shake, and the large exit pupil provides a bright image. Great for sweeping the Milky Way.
- 10×50: The standard “sweet spot” for handheld astronomy. It balances magnification and brightness, allowing you to resolve some detail in the Orion Nebula or the Jewel Box cluster.
- 15×70: Considered “giant” binoculars. These offer incredible views of deep-sky objects but are generally too heavy to hold steady by hand for long periods. They bridge the gap between binoculars and telescopes.
- 20×80 and larger: Dedicated astronomical instruments that require a sturdy tripod.
Critical Features: Prisms, Glass, and Coatings
Not all 10×50 binoculars are created equal. A cheap pair from a department store and a dedicated astronomical pair may look similar, but the view through them will be vastly different.
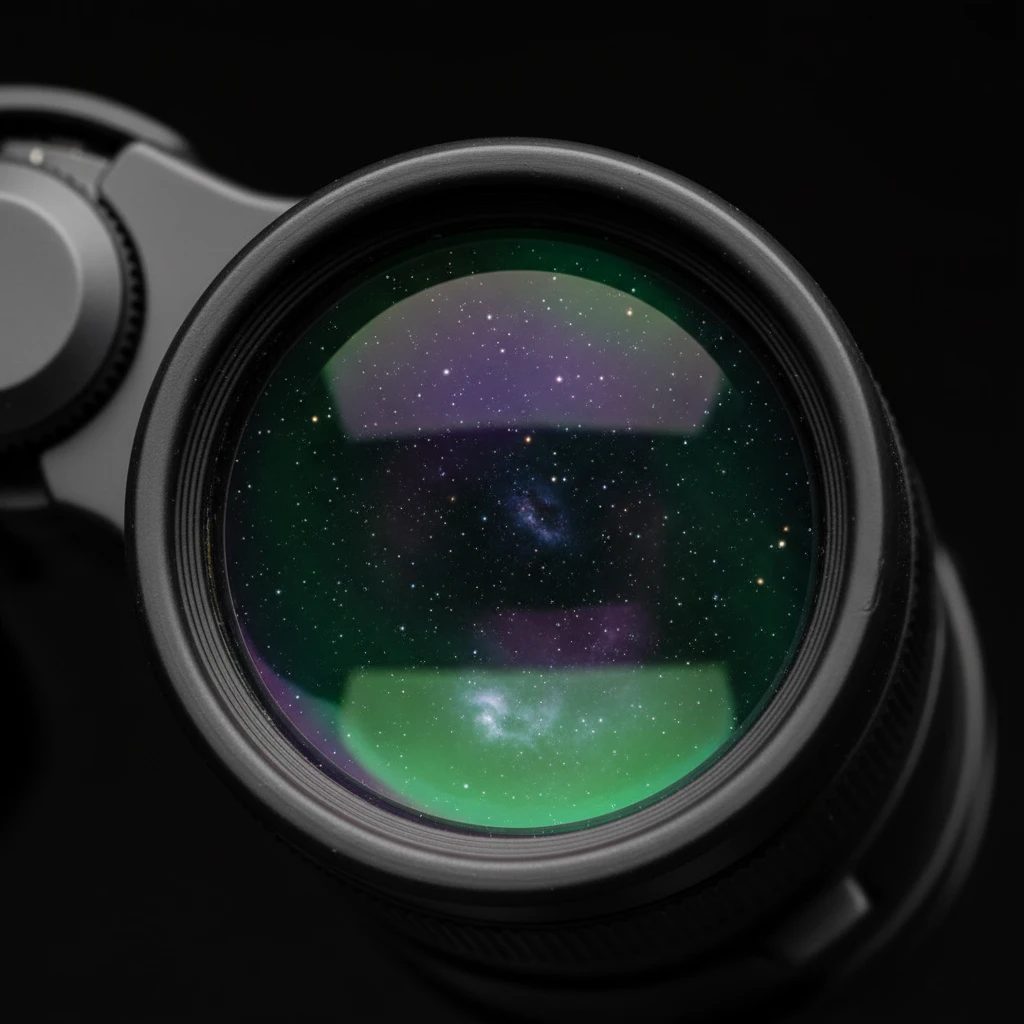
What is the difference between BAK-4 and BK-7 prisms?
The prism glass determines the shape and quality of the light beam reaching your eye. BAK-4 (Barium Crown) glass is the industry standard for high-quality optics, producing a perfectly round exit pupil and sharp images. BK-7 (Borosilicate) glass is cheaper but often results in a squared-off exit pupil and dimmer edges. For stargazing, always insist on BAK-4 prisms.
Why are lens coatings important?
Every time light hits a glass surface, some of it is reflected away. Optical coatings reduce this reflection, allowing more light to pass through to your eye. In the low-light environment of astronomy, this is critical.
- Coated: A single layer on at least one lens surface. (Avoid for astronomy).
- Fully Coated: A single layer on all air-to-glass surfaces.
- Multi-Coated: Multiple layers on at least one surface.
- Fully Multi-Coated (FMC): The gold standard. Multiple layers of anti-reflective coatings on all air-to-glass surfaces. This ensures up to 95% light transmission.
Best Stargazing Binoculars Available in NZ
Based on availability in New Zealand retailers and optical performance, here are the top contenders for different needs and budgets.
1. The All-Rounder: Nikon Action EX 10×50 CF
Best for: Reliability and NZ weather conditions.
The Nikon Action EX series is a staple in the astronomy community. These are Porro prism binoculars, which generally offer better depth of field than Roof prisms at this price point. Crucially for New Zealand observers, they are nitrogen-filled and O-ring sealed, making them waterproof and fog-proof—essential for damp nights in the grassy fields of the Mackenzie Basin.
- Pros: Sharp edge-to-edge clarity, rugged build, excellent eye relief for glasses wearers.
- Cons: Slightly heavier than average.
2. The Deep-Sky Giant: Celestron SkyMaster 15×70
Best for: Budget-friendly deep-sky viewing.
For those wanting to dive deeper into the cosmos without breaking the bank, the Celestron SkyMaster is the most popular entry-level giant binocular. The 70mm aperture gathers massive amounts of light, making the Centaurus A galaxy and the Tarantula Nebula pop.
- Pros: Incredible price-to-performance ratio, huge aperture.
- Cons: Requires a tripod for steady views; mechanical build quality can be variable (collimation issues are possible).
3. Premium Choice: Fujinon FMT-SX 10×50
Best for: Serious astronomers demanding perfection.
If budget allows, Fujinon sets the benchmark. Their flat-field lenses ensure stars are pinpoints right to the very edge of the view, with zero distortion. The light transmission is exceptional, often revealing stars that cheaper 10x50s miss entirely.
- Pros: Military-grade durability, unmatched optical perfection.
- Cons: Expensive and heavy; individual eyepiece focusing (IF) can be slow for daytime use but is ideal for astronomy.
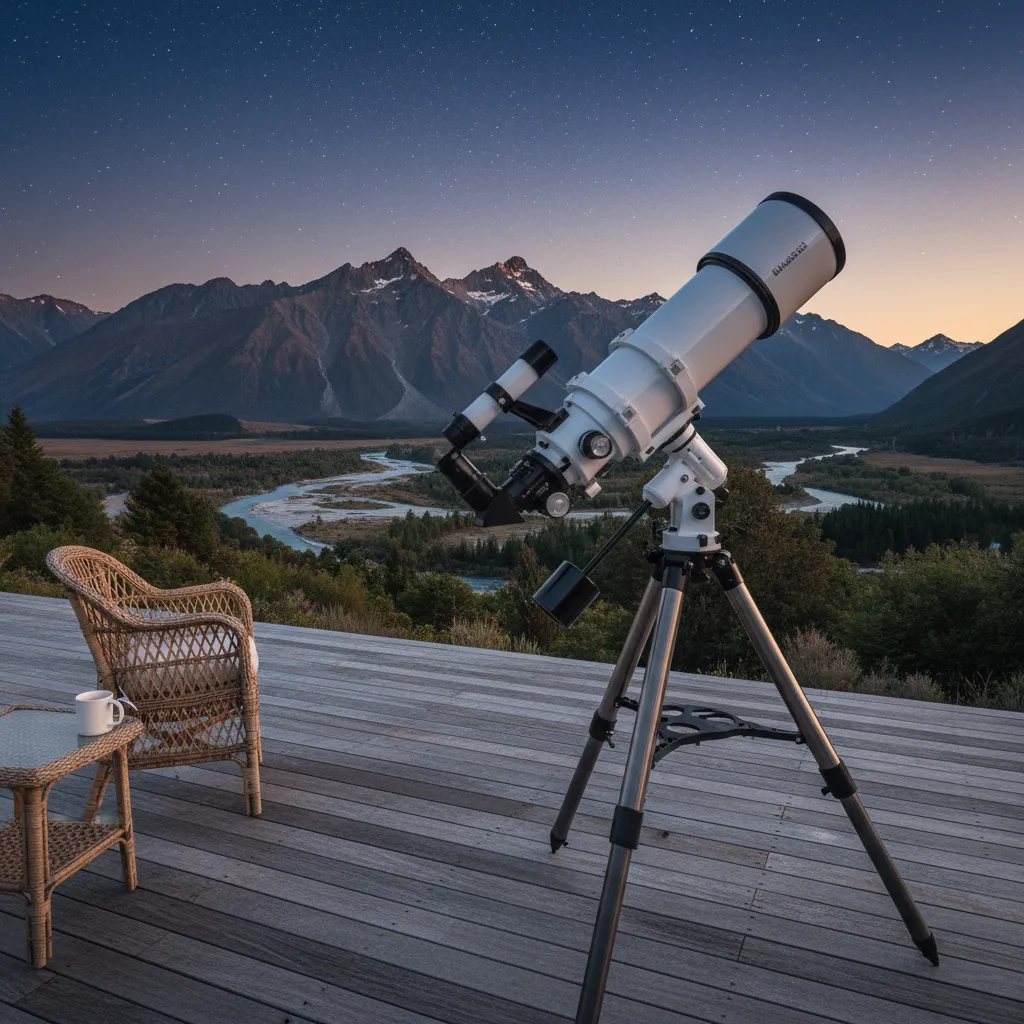
Stability Solutions: Tripods and Adapters
As magnification increases, so does the shake caused by your heartbeat and muscle fatigue. Once you exceed 10x magnification, or if you are using heavy 15×70 units, stabilization becomes mandatory.
How to mount binoculars to a tripod?
Most Porro prism binoculars feature a threaded socket between the objective lenses, usually covered by a screw cap. You will need an L-adapter (often included with larger models like the SkyMaster) to connect this socket to a standard photographic tripod plate.
Choosing a Tripod for NZ Conditions:
In windy NZ locations, a lightweight travel tripod will vibrate, rendering the view useless. You need a tripod with a high load capacity and sturdy legs. A fluid video head is often better than a ball head for astronomy, as it allows for smooth panning across the sky to follow celestial objects.
Alternative: The Parallelogram Mount
For the ultimate luxury, a parallelogram mount allows you to raise and lower the binoculars without losing the target. This is perfect for sharing views with children or shorter observers during public outreach events or family camping trips.
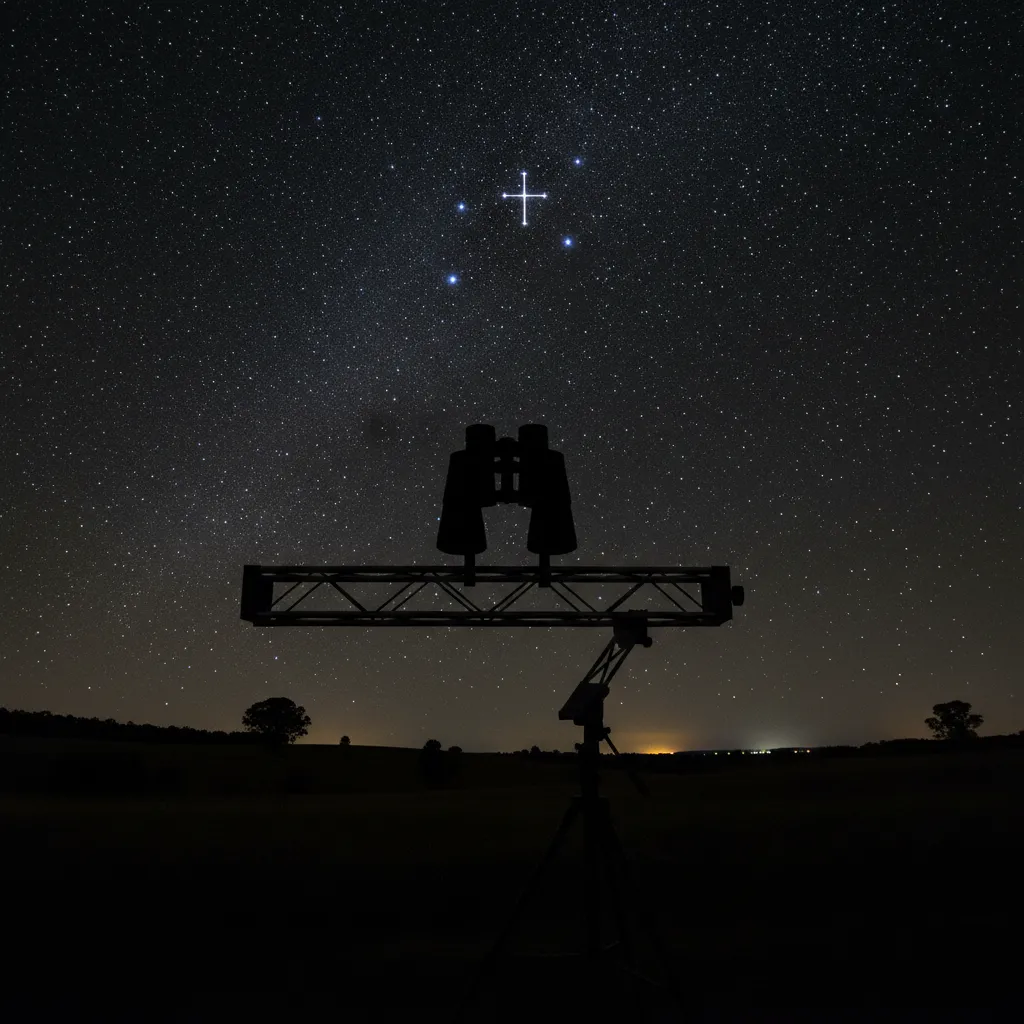
Navigating the Southern Skies: Matariki and Aurora
Owning the gear is step one; knowing where to look is step two. Stargazing in New Zealand offers unique targets not visible in the Northern Hemisphere.
Matariki (The Pleiades)
The rise of the Matariki star cluster marks the Māori New Year. Through 10×50 binoculars, this cluster transforms from a fuzzy patch of 6-7 stars into a dazzling jewelry box of dozens of icy blue stars. It is one of the best binocular targets in the sky.
The Magellanic Clouds
These two dwarf galaxies orbiting the Milky Way look like detached pieces of the Milky Way to the naked eye. Binoculars reveal their structure and the rich star fields contained within them. Look for the Large Magellanic Cloud (LMC) and the Small Magellanic Cloud (SMC) in the southern sky.
Aurora Australis
While Auroras are best captured via long-exposure photography, bright displays can be viewed visually. Binoculars can help detect the structure of the “curtains” of light and subtle color variations that might be too faint for the naked eye, especially during strong geomagnetic storms visible from the South Island.
People Also Ask
What is the best magnification for stargazing binoculars?
For handheld use, 7x to 10x magnification is ideal. 7x offers a brighter, wider image that is easier to hold steady, while 10x provides more detail on deep-sky objects. Magnifications above 12x generally require a tripod to eliminate image shake.
Can I use birdwatching binoculars for astronomy?
Yes, particularly if they are 8×42 or 10×42 models. While they gather less light than 50mm astronomy-specific models, high-quality birdwatching binoculars with ED glass and phase coatings can still provide excellent views of the Moon, planets, and bright star clusters.
Do I need a tripod for 15×70 binoculars?
Yes, absolutely. While you can hold them for very short bursts, the weight and high magnification will cause significant shaking, blurring the image and tiring your arms. To see fine detail and enjoy the experience, a sturdy tripod and adapter are necessary.
What is the difference between Porro and Roof prism binoculars?
Porro prism binoculars (the classic zigzag shape) are generally preferred for astronomy because they offer better depth perception and light transmission at a lower cost. Roof prisms (straight tubes) are more compact and durable but require expensive phase correction coatings to match the optical quality of Porros.
How do I focus binoculars for astronomy?
First, close your right eye and focus the center wheel until the image is sharp for your left eye. Then, close your left eye and adjust the diopter ring (usually on the right eyepiece) until the image is sharp for your right eye. Once set, you only need to use the center focus wheel.
Are zoom binoculars good for stargazing?
Generally, no. Zoom binoculars often suffer from a narrow field of view, poorer optical quality, and mechanical fragility. Fixed-magnification binoculars (like 10×50) provide much brighter, sharper, and wider views, which are critical for astronomy.