Light pollution filters are specialized optical glass accessories designed to selectively block specific wavelengths of artificial light, such as sodium vapor and mercury emissions, while allowing celestial light to pass through. In New Zealand, these filters are essential tools for astrophotographers and visual astronomers to improve contrast, reveal faint nebulae, and capture clear Aurora Australis images from urban environments like Auckland and Christchurch.
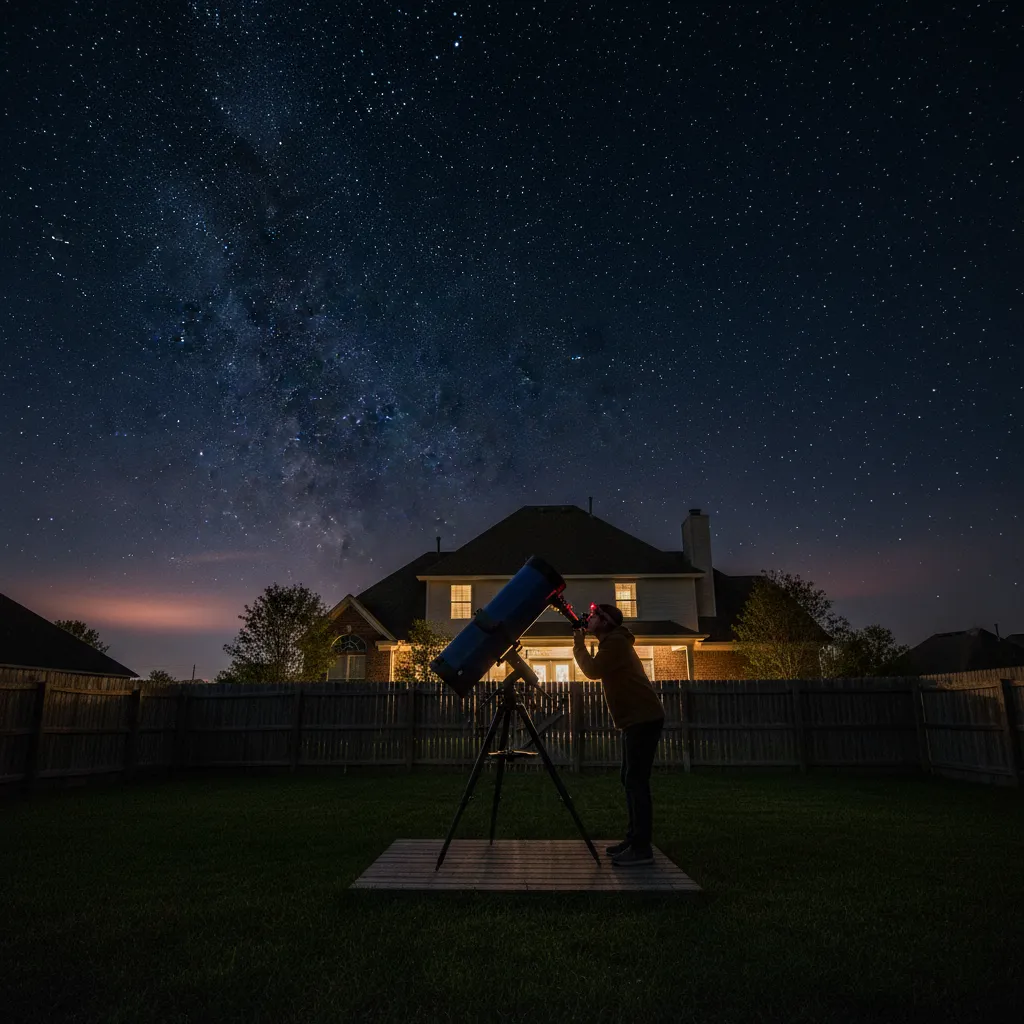
While Aotearoa New Zealand is famous for its Dark Sky Sanctuaries, the reality for the majority of the population living in urban centers is a sky washed out by artificial glow. Whether you are a dedicated astrophotographer chasing the Southern Lights or a cultural practitioner observing the Maramataka (Māori lunar calendar), understanding light pollution filters is the key to unlocking the night sky from your backyard.
How Do Light Pollution Filters Actually Work?
To understand the necessity of light pollution filters in NZ, one must first understand the nature of the interference. Light pollution acts as a veil of noise that obscures the signal (the light from stars and nebulae). This is technically referred to as a poor Signal-to-Noise Ratio (SNR).
Filters work by subtractive synthesis. They do not add light to your image or eyepiece; rather, they selectively block wavelengths associated with man-made lighting. Traditionally, this meant blocking the orange glow of High-Pressure Sodium (HPS) and Mercury Vapor streetlights. However, as New Zealand councils increasingly upgrade to broad-spectrum LED street lighting, the technology behind these filters has had to evolve.
Modern filters use multi-layer dielectric coatings to create a “transmission curve.” This curve dictates which parts of the light spectrum are rejected and which are allowed to pass. The goal is to maximize transmission at roughly 656nm (H-Alpha), 486nm (H-Beta), and 500nm (Oxygen III), which are the emission lines where nebulae and certain celestial objects shine brightest.
Broadband vs. Narrowband Filters: Which Do You Need?
When shopping for filters, you will encounter two primary categories. The choice between broadband and narrowband depends entirely on your target and your location.
Broadband Filters (CLS / L-Pro)
Broadband filters, often labeled as Light Pollution Reduction (LPR) or City Light Suppression (CLS) filters, are designed to filter out the worst of the artificial skyglow while maintaining a natural color balance for the stars. These are “mild” filters.
They are excellent for imaging broadband targets like galaxies (e.g., the Andromeda Galaxy, though low on the NZ horizon, or the Large Magellanic Cloud) and reflection nebulae. Because galaxies emit light across the entire spectrum, using a heavy filter would block the galaxy’s light alongside the pollution. A broadband filter like the Optolong L-Pro is a popular choice in New Zealand for landscape astrophotography because it preserves the natural colors of the foreground while boosting sky contrast.
Narrowband Filters (Dual-Band / Tri-Band)
Narrowband filters are the heavy artillery of astrophotography. They block almost all light except for very specific slivers of the spectrum.
- H-Alpha (Ha): The deep red light emitted by ionized hydrogen, abundant in emission nebulae like the Carina Nebula.
- Oxygen-III (OIII): The teal/blue light emitted by doubly ionized oxygen.
- Sulfur-II (SII): A deep red, often mapped to green or red in Hubble-palette images.
For users with One-Shot Color (OSC) cameras—which includes most DSLRs and mirrorless cameras—”Dual-Band” filters are revolutionary. These filters allow Ha and OIII to pass simultaneously while blocking everything else. Even under the bright Class 7 Bortle skies of central Auckland or Wellington, a dual-band filter can capture the Carina Nebula as if you were standing in the Aoraki Mackenzie Dark Sky Reserve.
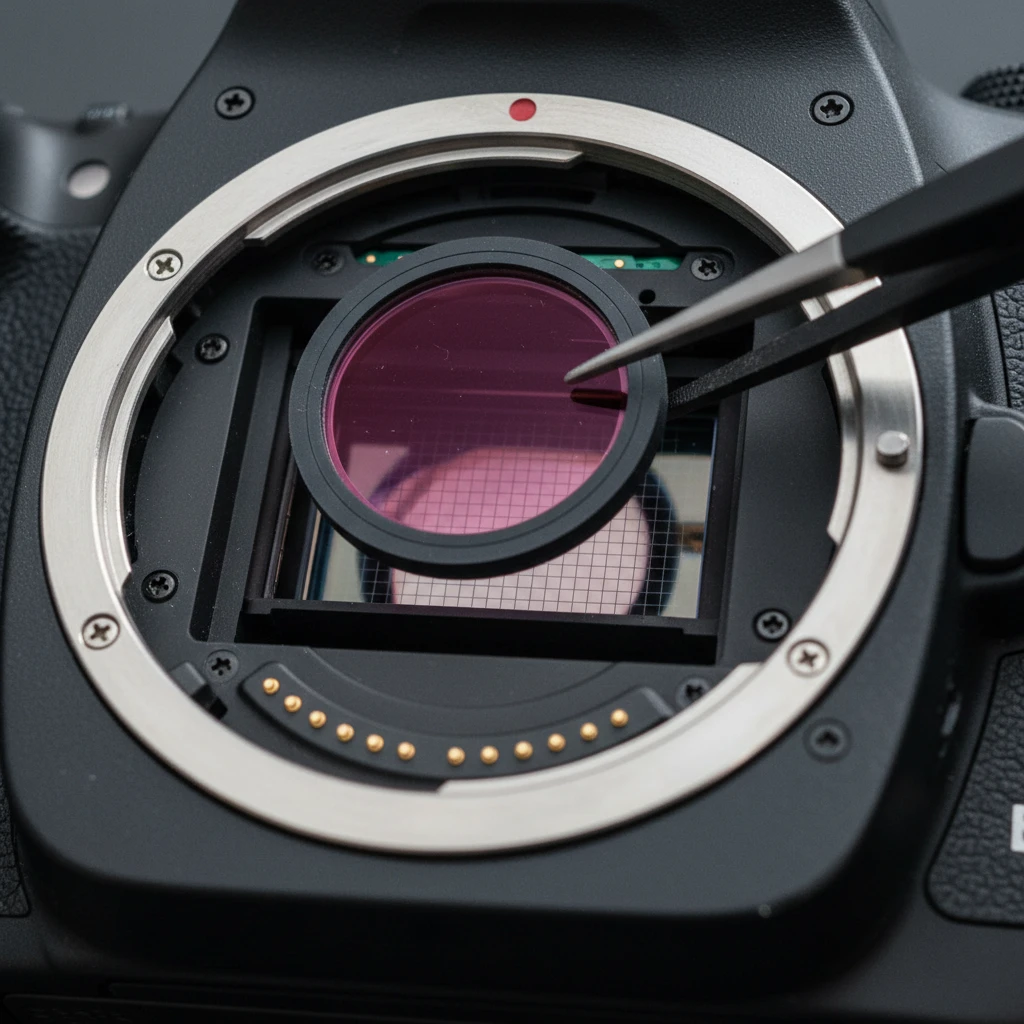
Clip-in Filters for Cameras: The Astrophotographer’s Choice
For photographers using DSLR or mirrorless systems (Canon, Nikon, Sony), clip-in filters offer a distinct advantage over screw-on lens filters.
The Form Factor Advantage
A clip-in filter sits inside the camera body, directly in front of the sensor (between the sensor and the lens). This design allows you to use a single filter with multiple lenses. If you own a wide-angle 14mm lens for landscapes and a 135mm telephoto for deep sky, you do not need to buy different sized circular filters for each. You simply install the clip-in filter once.
Compatibility and Usage
Clip-in filters are particularly popular among NZ landscape astrophotographers. When hiking into the backcountry, weight is a concern. A single clip-in filter is lighter and safer than carrying multiple glass screw-on filters. However, users must be aware of compatibility. Some clip-in filters can interfere with the rear elements of certain wide-angle lenses that protrude deep into the camera body. Always check the clearance before purchasing.
Filters for Visual Astronomy in Cities
While astrophotography relies on long exposures, visual astronomy—looking through an eyepiece with your eye—requires a different approach. The human eye is not as sensitive as a camera sensor, so “dimming” the view with a strong filter can sometimes be counterproductive if the telescope aperture is too small.
UHC (Ultra High Contrast) Filters
For the visual observer in suburban New Zealand, a UHC filter is the gold standard. These filters darken the background sky significantly without overly dimming the nebula. They are exceptional for viewing the Orion Nebula or the Tarantula Nebula from a backyard in Hamilton or Tauranga.
OIII Filters for Visual Use
An OIII filter is more aggressive than a UHC. It isolates the specific light of planetary nebulae and supernova remnants. While the image will appear much darker, the contrast is extreme. This is the only way to visually detect the structure of the Veil Nebula from a light-polluted location.
Cultural Connection: Maramataka in the City
For practitioners of Maramataka, observing the heliacal rising of stars like Matariki (Pleiades) or Puanga (Rigel) is vital. In bright urban environments, the glare can make spotting these stars on the horizon difficult during dawn. While filters are generally designed for nebulae, mild broadband filters can help darken the sky background slightly during twilight hours, potentially aiding in the identification of these culturally significant markers before the sun fully rises.
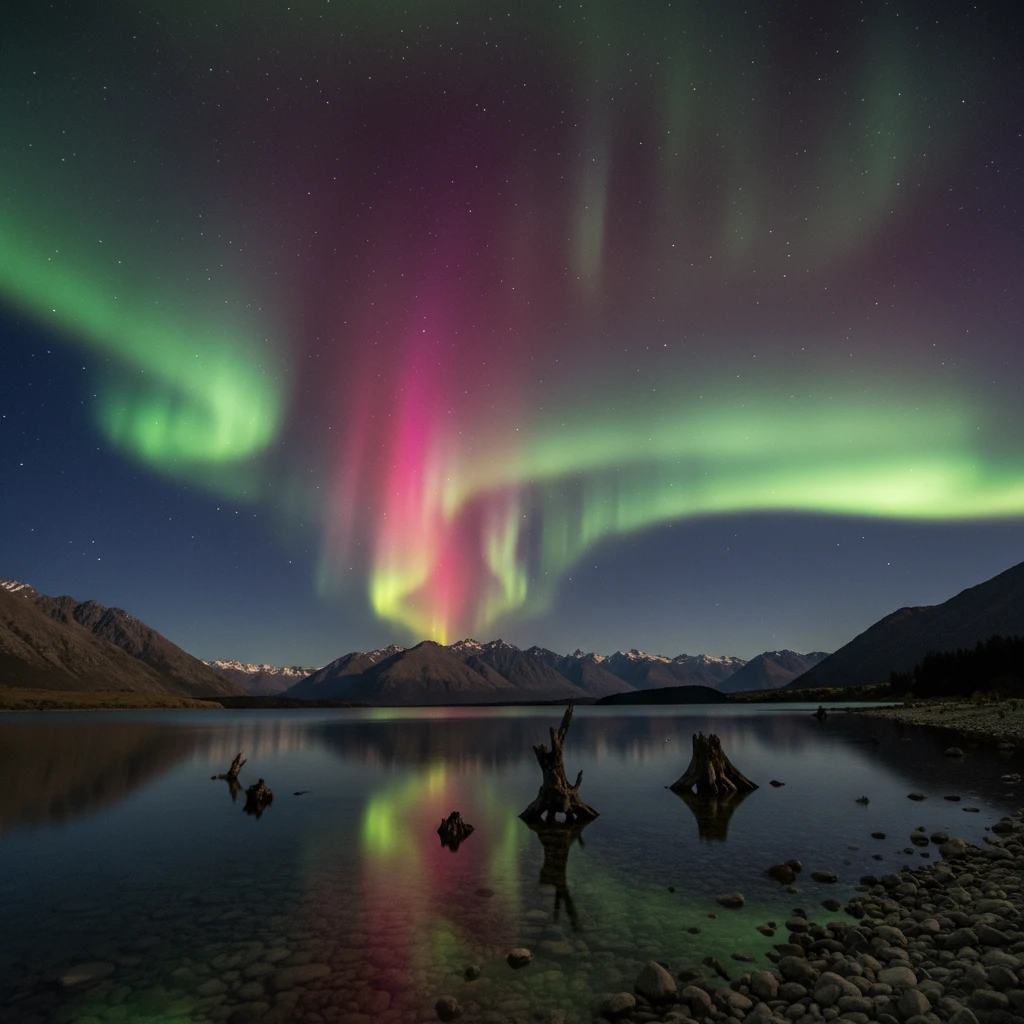
Impact on Aurora Photography in New Zealand
With the solar maximum increasing activity, chasing the Aurora Australis has become a major tourism draw for the South Island. A common question is: “Should I use a light pollution filter for the Aurora?”
The Risk of Color Distortion
The Aurora Australis emits light across several wavelengths: green (557.7nm), red (630.0nm), and purple/nitrogen emissions. Heavy narrowband filters often block the subtle purples and yellows that make the Southern Lights unique compared to their northern counterparts. Using a strong H-Alpha filter, for example, might capture the red structure but will completely obliterate the green and purple bands.
The Solution: Didymium / “Night Sky” Filters
For Aurora photography near cities like Dunedin or Christchurch, you want a filter based on Didymium glass (often sold as “Night Sky” or “Clear Night” filters). These filters are designed to cut specifically the yellow/orange spike of sodium streetlights while leaving the rest of the spectrum relatively untouched. They improve the separation between the glow of the city and the glow of the aurora.
However, if you are shooting from a dark location like Stewart Island/Rakiura, no filter is best. Any piece of glass adds a potential for internal reflection (ghosting), which can be problematic with bright aurora spikes. In dark sky sanctuaries, remove the filter to capture the maximum amount of photon data.
Choosing the Right Filter for NZ Conditions
New Zealand’s geography creates a unique set of lighting conditions. Here is a quick guide based on your location:
Zone 1: Major Metros (Auckland, Wellington, Christchurch)
Challenge: Bortle 6-8 skies. LED and Sodium mix.
Recommendation: For astrophotography, a Dual-Band filter (like the Optolong L-eXtreme or ZWO Duo-Band) is almost mandatory for nebulae. It will cut through 90% of the city glow. For visual use, a high-quality UHC filter is required.
Zone 2: Provincial Towns (Hamilton, Tauranga, Napier, Invercargill)
Challenge: Bortle 4-5 skies. Moderate glow.
Recommendation: A Broadband filter (like the Optolong L-Pro or Astronomik CLS) strikes the perfect balance. It suppresses the local streetlights but allows for good color balance on the Milky Way core.
Zone 3: Dark Sky Reserves (Tekapo, Aoraki, Great Barrier Island)
Challenge: Bortle 1-2 skies. Natural airglow only.
Recommendation: Generally, no light pollution filter is needed. A simple UV/IR Cut filter is recommended for cameras to sharpen stars, but light pollution filters will only reduce your signal in these pristine environments.
Installing and Caring for Your Filters
Light pollution filters are precision optical instruments coated with delicate dielectric layers. Proper care ensures they last a lifetime.
- Handling: Never touch the glass surface. The oils from your fingers can degrade the coatings and cause fungal growth over time. Handle clip-in filters by the plastic frame and circular filters by the metal ring.
- Cleaning: Use an air blower first to remove dust. If a smudge occurs, use optical-grade cleaning fluid and a lint-free microfiber cloth. Do not use T-shirt fabric or standard tissues, which can scratch the coating.
- Storage: Keep filters in their original plastic cases when not in use. New Zealand’s humidity can be high; storing them with a small packet of silica gel is a wise precaution to prevent moisture buildup.
People Also Ask
Do light pollution filters work for LED streetlights?
It depends on the filter. Older filters designed for Sodium lights are less effective against white LEDs because LEDs emit a broad spectrum of light. However, modern multi-band and dual-band filters are effective because they block the continuum of LED light, only letting through the specific wavelengths of nebulae.
Can I see galaxies with a light pollution filter?
Generally, no. Filters work by improving contrast on emission objects (nebulae). Galaxies are broadband emitters (made of stars). A strong filter will dim the galaxy just as much as the light pollution. A mild broadband filter may help slightly, but dark skies are the best “filter” for galaxies.
What is the best filter for photographing the Milky Way?
For Milky Way landscapes, a mild broadband filter like the Optolong L-Pro or a Didymium “Night Sky” filter is best. These preserve the natural colors of the stars and the galactic core while suppressing the yellow/orange airglow near the horizon.
Do filters affect the white balance of my images?
Yes. Because filters remove chunks of the color spectrum, your raw images will often have a color cast (usually blue, green, or red). You will need to adjust the white balance in post-processing software to correct this.
Are clip-in filters better than screw-in filters?
They are not optically “better,” but they are more convenient and cost-effective if you own multiple lenses with different filter thread sizes. They also protect the sensor from dust.
How do I photograph the Aurora from Christchurch with a filter?
From Christchurch, light pollution is significant. Use a “Night Sky” or “Clear Night” filter to reduce the city glow to the south. Avoid heavy narrowband filters as they will strip the color from the Aurora. Ensure your exposure time is short (5-10 seconds) to keep the aurora pillars sharp.