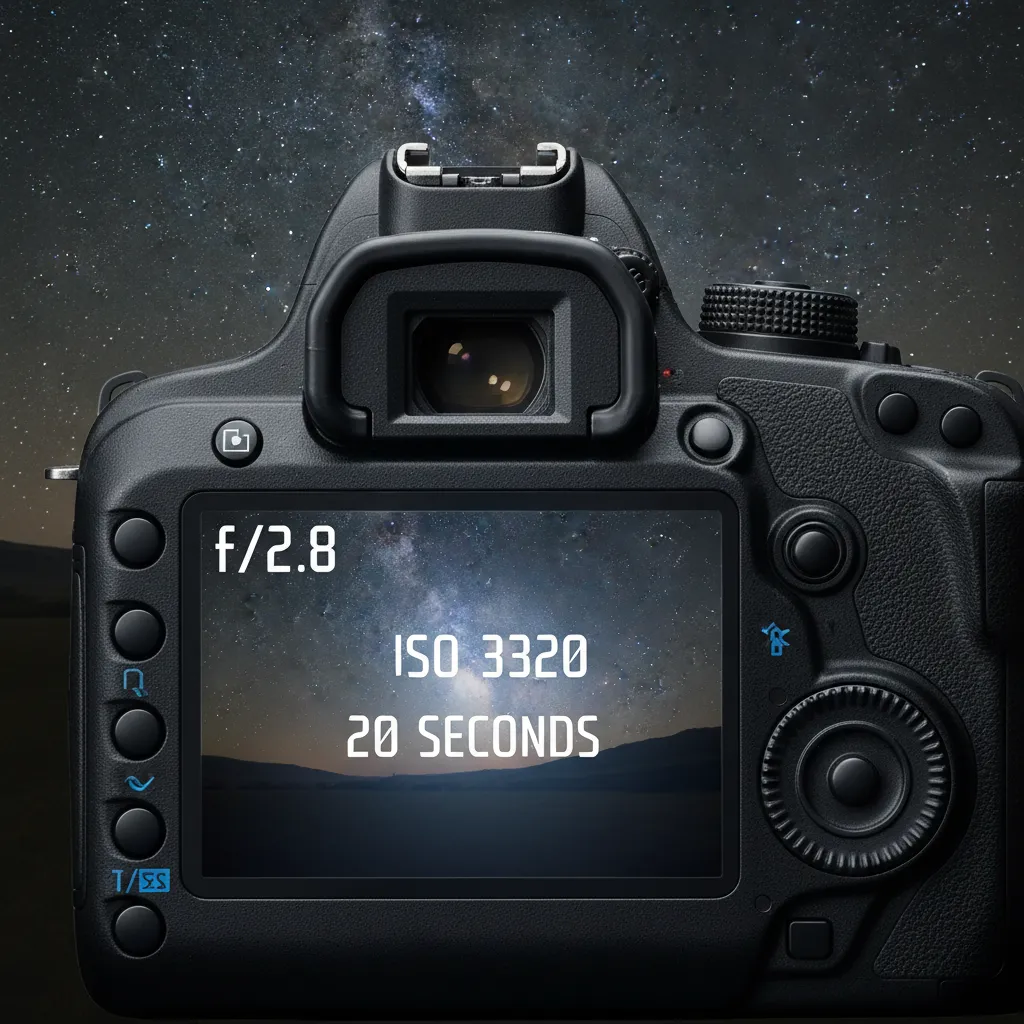
The best camera settings for stars involve shooting in Manual Mode with the widest aperture your lens allows (typically f/2.8 or lower) to capture maximum light. Set your ISO between 1600 and 3200 to boost sensor sensitivity, and use a shutter speed calculated by the “500 Rule” (usually 15–25 seconds) to prevent star trails while maintaining sharp focus set manually to infinity.
As the cluster of stars known as Matariki (the Pleiades) rises in the pre-dawn sky, it signals the Māori New Year and a time of reflection and renewal in New Zealand. Capturing this celestial event requires more than just pointing and shooting; it demands a specific technical approach to overcome the challenges of low-light photography. Whether you are standing on a crisp winter morning in Aotearoa looking northeast or simply aiming to master astrophotography, understanding the interplay of light, time, and optics is essential.
Understanding the Exposure Triangle for Night Skies
Astrophotography operates at the extreme limits of your camera’s capabilities. Unlike daytime photography, where light is abundant, shooting the night sky involves capturing photons that have traveled light-years to reach your sensor. To achieve this, you must master the three pillars of the exposure triangle: Aperture, Shutter Speed, and ISO.
What is the Best Aperture for Astrophotography?
The aperture controls the size of the opening in your lens through which light passes. For astrophotography, the goal is simple: gather as much light as possible in the shortest amount of time. This means using a “fast” lens with a wide maximum aperture.
Ideally, you should set your aperture to f/2.8 or wider (lower f-number). Lenses capable of f/1.8 or f/1.4 are excellent choices as they allow significantly more light to hit the sensor compared to standard kit lenses, which often stop at f/3.5 or f/4.0. If you are using a lens with a narrower maximum aperture (like f/4), you will need to compensate by increasing your ISO or shutter speed, though this introduces trade-offs regarding noise and star trailing.
How High Should You Set Your ISO?
ISO measures your camera sensor’s sensitivity to light. In traditional photography, a low ISO (like 100 or 200) is preferred to minimize digital noise (grain). However, when photographing Matariki or the Milky Way, there is insufficient light to use low ISO settings without requiring exposure times that would blur the stars due to Earth’s rotation.
For most modern DSLR and mirrorless cameras, the sweet spot for astrophotography is between ISO 1600 and ISO 3200. This range provides enough sensitivity to register faint stars without introducing unmanageable amounts of noise. Full-frame cameras can often push to ISO 6400 cleanly, while older crop-sensor cameras may need to stay closer to ISO 1600 to maintain image quality.
Determining the Right Shutter Speed
Shutter speed is the duration the camera’s shutter remains open. Long exposures are necessary to reveal stars invisible to the naked eye. However, because the Earth rotates, leaving the shutter open for too long causes stars to stretch into streaks rather than appearing as sharp points of light.
Finding the balance is critical. Too short, and the image is dark; too long, and you get trails. This delicate balance leads us to a fundamental rule in astrophotography calculation.
The Rule of 500: Avoiding Star Trails
To capture pinpoint stars, photographers use a formula known as the “Rule of 500.” This calculation helps you determine the maximum shutter speed you can use before star trails become noticeable in your image.
How to Calculate Shutter Speed Using the Rule of 500
The formula is straightforward: 500 divided by the focal length of your lens equals the maximum exposure time in seconds.
However, you must account for your camera’s sensor size. If you are using a full-frame camera, you use the focal length as written on the lens. If you are using a crop-sensor camera (APS-C or Micro Four Thirds), you must first multiply your focal length by the crop factor (usually 1.5x or 1.6x for APS-C, 2x for MFT).
Examples for Full-Frame Cameras:
- 14mm lens: 500 / 14 = 35 seconds (approx)
- 24mm lens: 500 / 24 = 20 seconds (approx)
- 50mm lens: 500 / 50 = 10 seconds
Examples for Crop-Sensor Cameras (1.5x crop):
- 18mm lens: 18 x 1.5 = 27mm effective focal length. 500 / 27 = 18 seconds (approx).
- 35mm lens: 35 x 1.5 = 52.5mm effective focal length. 500 / 52 = 9 seconds (approx).
While the Rule of 500 is a great starting point, high-resolution sensors often reveal trails sooner. Many professionals now suggest a stricter “Rule of 400” or “NPF Rule” for extreme sharpness, but for beginners capturing Matariki, the Rule of 500 provides excellent results.
Focusing in the Dark: Manual vs. Auto
One of the most common frustrations for beginners is ending up with blurry stars. Autofocus systems rely on contrast and light to lock onto a subject. In the pitch black of night, your autofocus will hunt endlessly and fail to lock on.
How to Manually Focus on Stars
You must switch your lens to Manual Focus (MF). Simply turning the focus ring to the infinity symbol (∞) is rarely accurate enough, as most lenses allow the focus ring to rotate past true infinity (to account for thermal expansion).
Follow this step-by-step process for critical sharpness:
- Switch to Live View: Turn on your camera’s rear LCD screen.
- Find a Bright Source: Point your camera at the brightest star in the sky (like Sirius or Canopus) or a distant streetlamp. Matariki itself might be too faint for this initial step.
- Zoom Digitally: Use the magnifier button on your camera body to zoom in on the star on your LCD screen (do not zoom the lens itself).
- Adjust the Focus Ring: Slowly rotate the focus ring until the star becomes the smallest, sharpest point of light possible. If it looks like a donut or a fuzzy ball, you are out of focus.
- Lock it Down: Once focused, do not touch the focus ring or zoom ring again. Some photographers use a piece of gaffer tape to secure the ring in place.
Essential Gear for Matariki Photography
While settings are paramount, the physical equipment you use plays a supportive role in stability and image quality. You do not need the most expensive camera, but you do need stability.
Tripod Stability
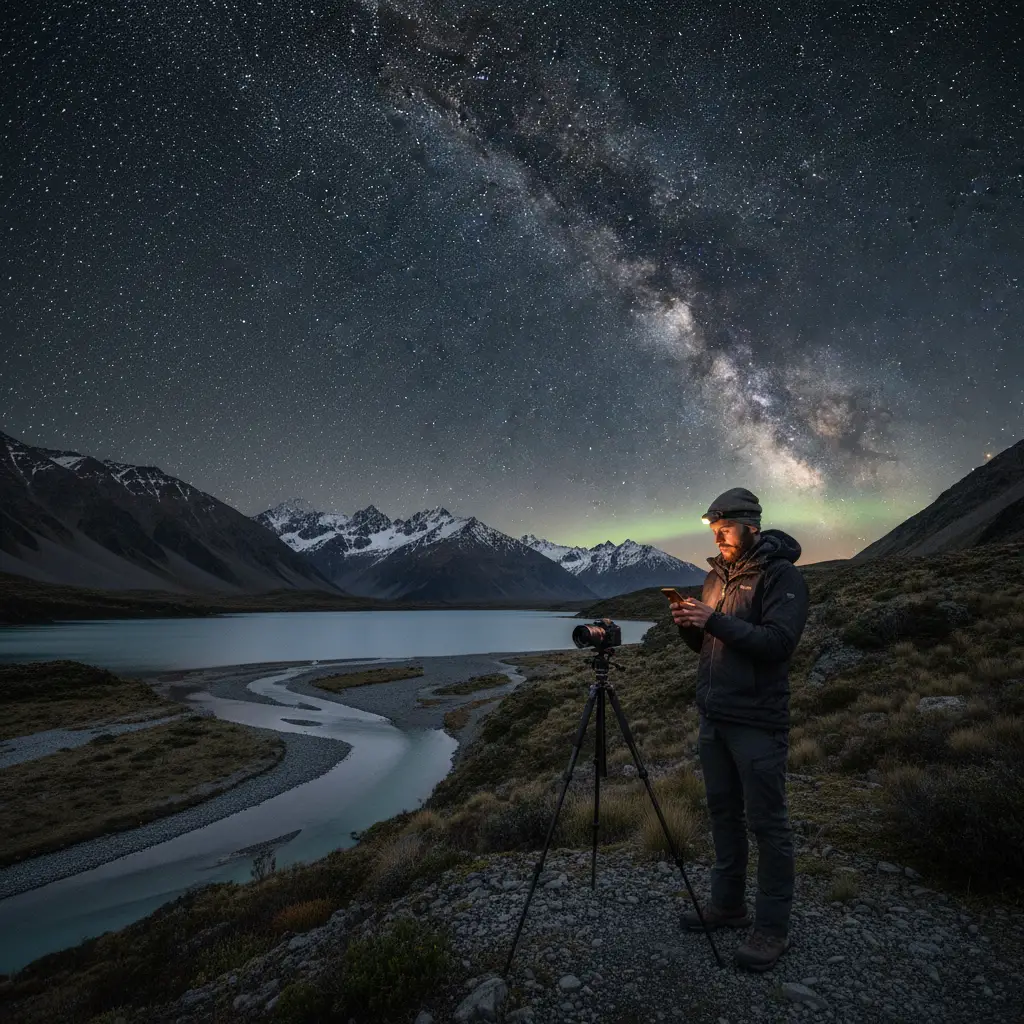
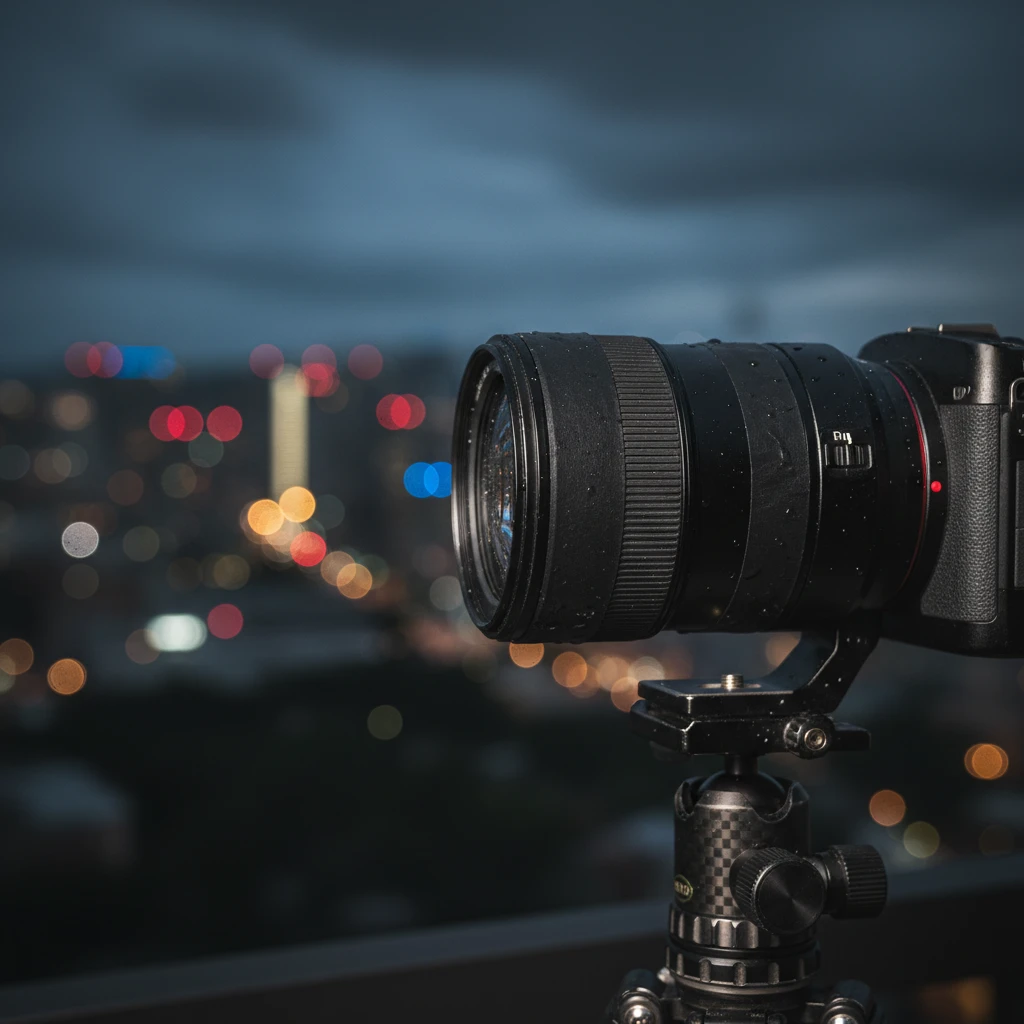
Because you are shooting exposures lasting 10 to 30 seconds, holding the camera by hand is impossible. A sturdy tripod is non-negotiable. If you are shooting Matariki in the New Zealand winter, be aware that wind can be a factor. Hang your camera bag from the tripod’s center column hook to add weight and reduce vibrations.
Remote Shutter Release
Even the act of pressing the shutter button can introduce micro-vibrations that blur your image. Use a remote shutter release cable, a wireless remote, or your camera’s built-in 2-second or 5-second self-timer delay. This ensures the camera is perfectly still when the shutter opens.
Planning and Composition: Locating Matariki
Matariki is a cluster of stars, also known as the Pleiades or the Seven Sisters. In New Zealand, its heliacal rising occurs in mid-winter (June or July), appearing in the northeastern horizon just before dawn.
Scouting the Location
To photograph Matariki successfully, you need a location with low light pollution looking toward the northeast. Light pollution from cities will wash out the faint stars of the cluster. Use tools like the “Dark Site Finder” or apps like PhotoPills to plan your shoot.
When composing your shot, try to include a foreground element to give the image scale and context. A silhouette of a native tree (like a Pōhutukawa or Totara), a mountain peak, or a calm body of water reflecting the stars can elevate your image from a simple star chart to a compelling landscape photograph. Since Matariki sits relatively low on the horizon when it first rises, foreground interest is vital.
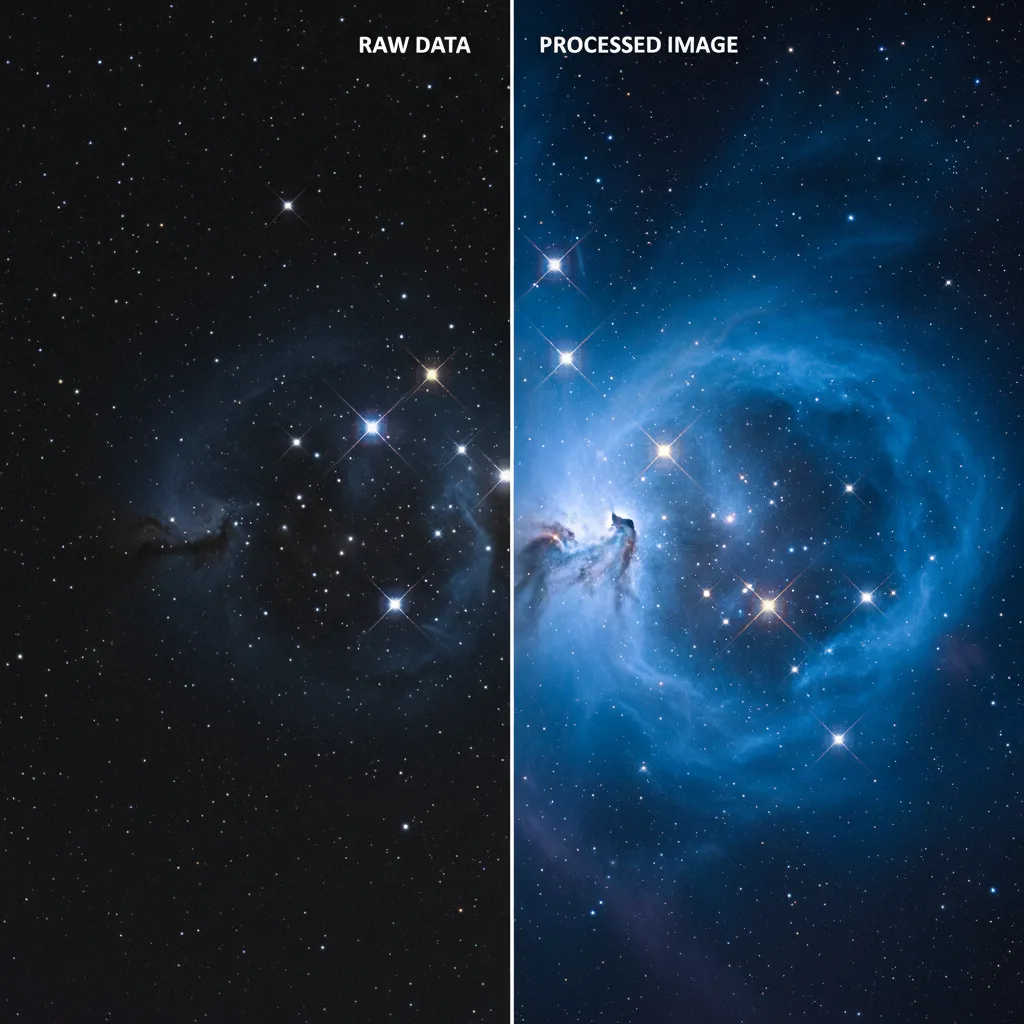
Post-Processing Tips for Bringing Out the Blue Glow
Capturing the RAW file is only half the battle. The Pleiades cluster is famous for its reflection nebula—the icy blue dust cloud surrounding the stars. Bringing this detail out requires careful post-processing.
Essential Editing Steps in Lightroom or Camera RAW
- White Balance: Raw files often look orange or brown due to light pollution. Adjust your white balance to a cooler temperature (around 3400K–4000K) to make the sky look natural and deep blue.
- Exposure and Contrast: Slightly boost the exposure if the image is too dark. Increase contrast to separate the stars from the background sky.
- Highlights and Shadows: Raise the “Whites” or “Highlights” slightly to make the stars pop. Lift the “Shadows” carefully to reveal foreground detail without introducing too much noise.
- Clarity and Dehaze: These are powerful tools for astrophotography. A moderate increase in Clarity adds micro-contrast to the stars. The Dehaze slider is excellent for cutting through atmospheric moisture and making the Matariki cluster more defined.
- Noise Reduction: Since you shot at a high ISO, there will be grain. Apply luminance noise reduction, but be careful not to smooth out the image so much that you lose the fainter stars.
Troubleshooting Common Astrophotography Issues
Even with the best camera settings for stars, things can go wrong. Here is how to fix common problems on the fly.
Why are my stars blurry?
If the stars look like small lines, your shutter speed is too long—apply the Rule of 500. If they look like soft blobs, your focus was not set correctly to infinity. Re-check focus using the Live View zoom method.
Why is my image too dark?
If the image is underexposed, you are not gathering enough light. Open your aperture wider if possible. If you are already at your widest aperture, increase your ISO (e.g., from 1600 to 3200). Avoid increasing shutter speed beyond the Rule of 500 limit unless you want star trails.
Why is my image too noisy or grainy?
High ISO causes noise. If the grain is unacceptable, ensure you are not underexposing the image in-camera and trying to brighten it later in post-processing, which makes noise worse. It is better to have a higher ISO and a properly exposed histogram than a lower ISO and a dark image.
Frequently Asked Questions
What is the best ISO for star photography?
The best ISO typically ranges from 1600 to 3200 for crop-sensor cameras and can go up to 3200 or 6400 for full-frame cameras. The goal is to capture enough light without introducing excessive digital noise.
Can I photograph stars with a kit lens?
Yes, you can use a kit lens (like an 18-55mm). Use the widest focal length (18mm) and the widest aperture available (usually f/3.5). You may need to use a higher ISO (3200) and a shutter speed of around 20-25 seconds to compensate for the smaller aperture.
Why do I need to shoot in RAW for astrophotography?
Shooting in RAW records all the data from the sensor without compression. This allows you to adjust white balance, recover shadow details, and reduce noise in post-processing far more effectively than with a JPEG file.
How do I find Matariki in the sky?
In New Zealand, look toward the northeastern horizon before dawn between June and July. Matariki (the Pleiades) appears to the left of the bright orange star Aldebaran and the constellation Orion (The Pot). Astronomy apps like Stellarium or Star Walk 2 can help you locate it precisely.
What white balance should I use for night sky photography?
It is best to set a custom White Balance between 3200K and 4000K (Kelvin). This renders the night sky as a natural-looking blue. Auto White Balance often makes the sky look orange or brown due to light pollution.
How do I prevent condensation on my lens at night?
As temperatures drop, dew can form on your lens. Use a lens hood to delay this. For longer sessions, you can use a dedicated lens heater strip powered by a USB power bank, or attach a chemical hand warmer to the lens barrel with a rubber band.