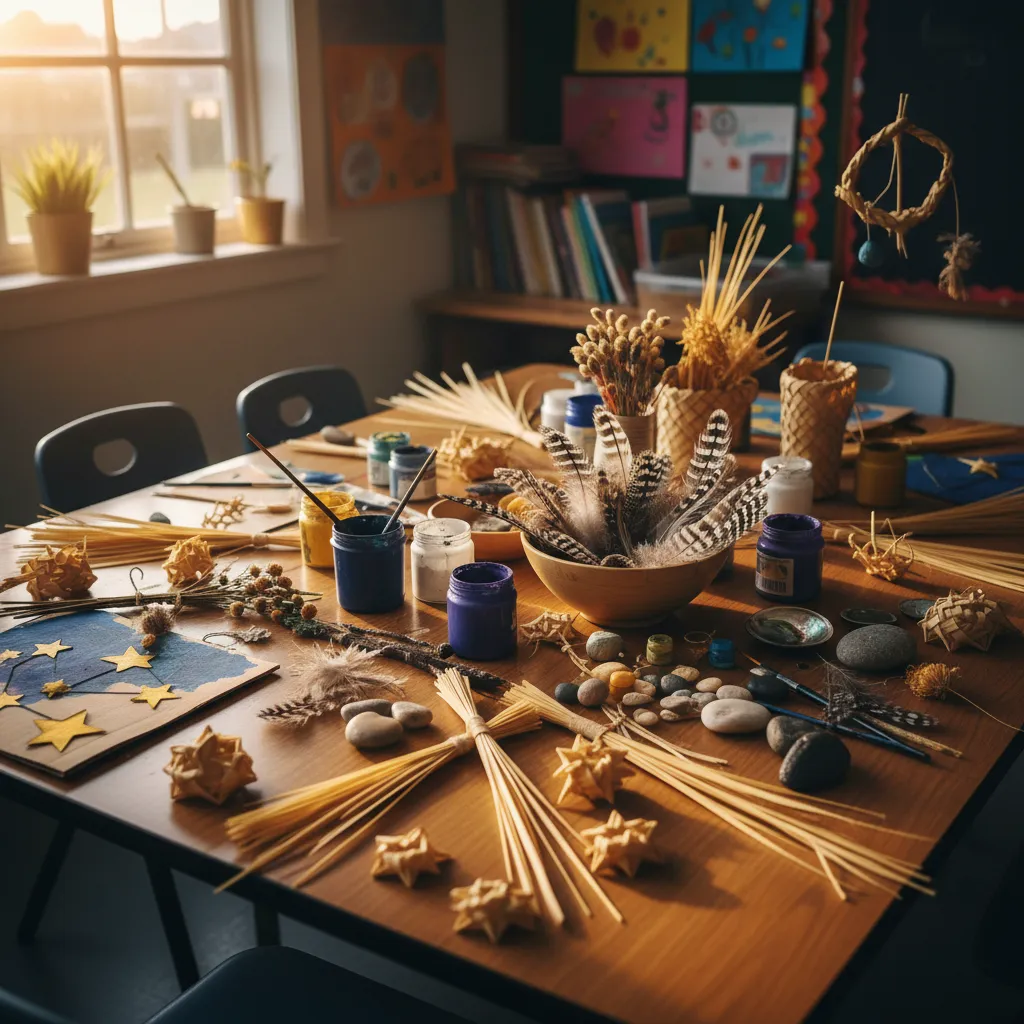
Matariki art ideas encompass a range of creative crafts designed to celebrate the Māori New Year, focusing on themes of remembrance, nature, and celestial navigation. Popular activities include crafting Manu Tukutuku (kites) to connect with the heavens, weaving Whetū (stars) from flax or paper, painting night sky landscapes, and creating recycled lanterns to symbolize the return of light.
As the Pleiades star cluster rises in the mid-winter sky, Aotearoa New Zealand prepares to celebrate Matariki. This significant event marks the Māori New Year, a time for remembering those who have passed, celebrating the present with whānau (family), and planning for the future. Integrating art into these celebrations provides a powerful medium for storytelling and cultural education. Whether you are a teacher looking for classroom activities or a parent seeking engaging crafts for the holidays, these Matariki art ideas offer meaningful ways to honour the season.
Why is Art Important During Matariki?
Art (Toi) has always been an intrinsic part of Māori culture, serving as a vessel for knowledge transfer, genealogy (whakapapa), and spiritual connection. During Matariki, art becomes a bridge between the past and the future. It allows tamariki (children) and adults alike to visualize the stories of the nine stars of Matariki, each of which holds dominion over different environmental domains—from fresh water and salt water to winds and crops.
Engaging in Matariki art ideas is not merely about aesthetic creation; it is an act of wānanga (learning). By crafting a kite, we learn about the connection between the earth and the heavens. By weaving a star, we practice patience and dexterity while learning about the constellation that guides the New Year. These activities foster a deeper appreciation for Te Ao Māori (the Māori world) and provide tangible symbols of the festival’s values: reflection, celebration, and aspiration.
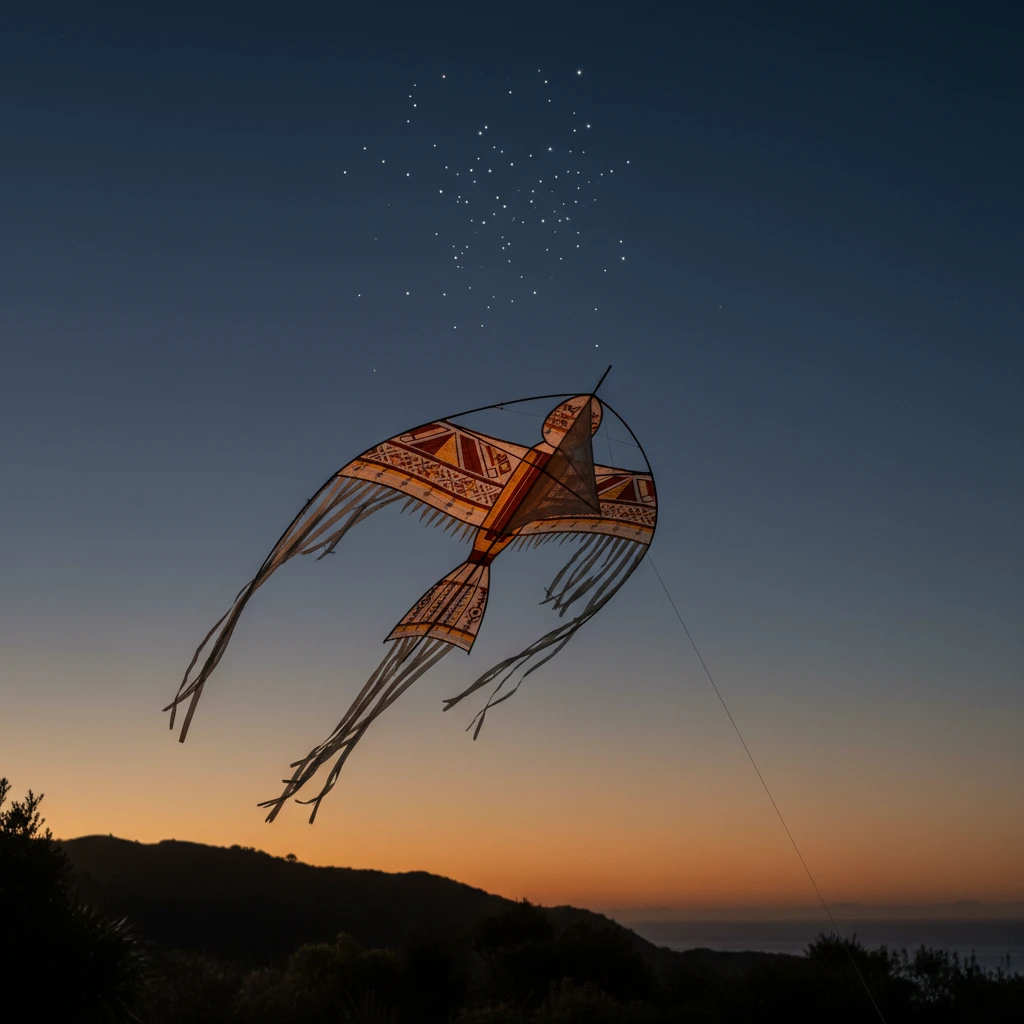
How to Make Traditional Manu Tukutuku (Kites)?
One of the most iconic Matariki art ideas is the creation of Manu Tukutuku, or Māori kites. Historically, kites were flown to communicate with the heavens, acting as a link between tangata (people) and ngā atua (the gods). They were often used during Matariki to send prayers and aspirations up to the stars.
The Cultural Significance
The word ‘Manu’ means both bird and kite, emphasizing the object’s ability to fly. ‘Tukutuku’ refers to the winding out of the line. In ancient times, these were made from natural materials like raupō, toetoe, and harakeke (flax). Today, creating them is a fantastic way to teach aerodynamics, engineering, and history simultaneously. To better visualize these stars in the sky, you can use an Interactive Night Sky Map Tool: Locate Matariki Now to guide your projects.
Step-by-Step Guide to a Simple Manu Tukutuku
While traditional kites can be complex, a simplified version is perfect for school projects or home crafts.
Materials Needed:
- Toetoe stalks, bamboo skewers, or lightweight dowels
- Natural twine or string
- Tissue paper, newspaper, or fabric
- Feathers (for decoration)
- PVA glue or flour paste
Instructions:
- Create the Frame: Cross two sticks to form a ‘t’ shape (for a simple cross kite) or arrange three sticks to form a hexagon. Lash the center tightly with twine.
- Frame the Perimeter: Run a string around the outer tips of the sticks, pulling it taut to create the outline of the kite. Secure the string at each tip with a notch or glue.
- Apply the Skin: Lay your frame onto your chosen paper or fabric. Cut around the shape, leaving a 2-3cm margin. Fold the margin over the string frame and glue it down.
- Decorate: This is where the art comes in. Paint traditional kōwhaiwhai patterns, or draw the stars of Matariki on the face of the kite. Attach feathers to the tips to represent the ‘manu’ (bird) aspect.
- Attach the Bridle: Tie a string to the top and bottom of the vertical stick. Tie your flying line to this bridle, adjusting the angle until the kite balances.
- The Tail: Attach a long tail made of fabric strips or flax to the bottom for stability.
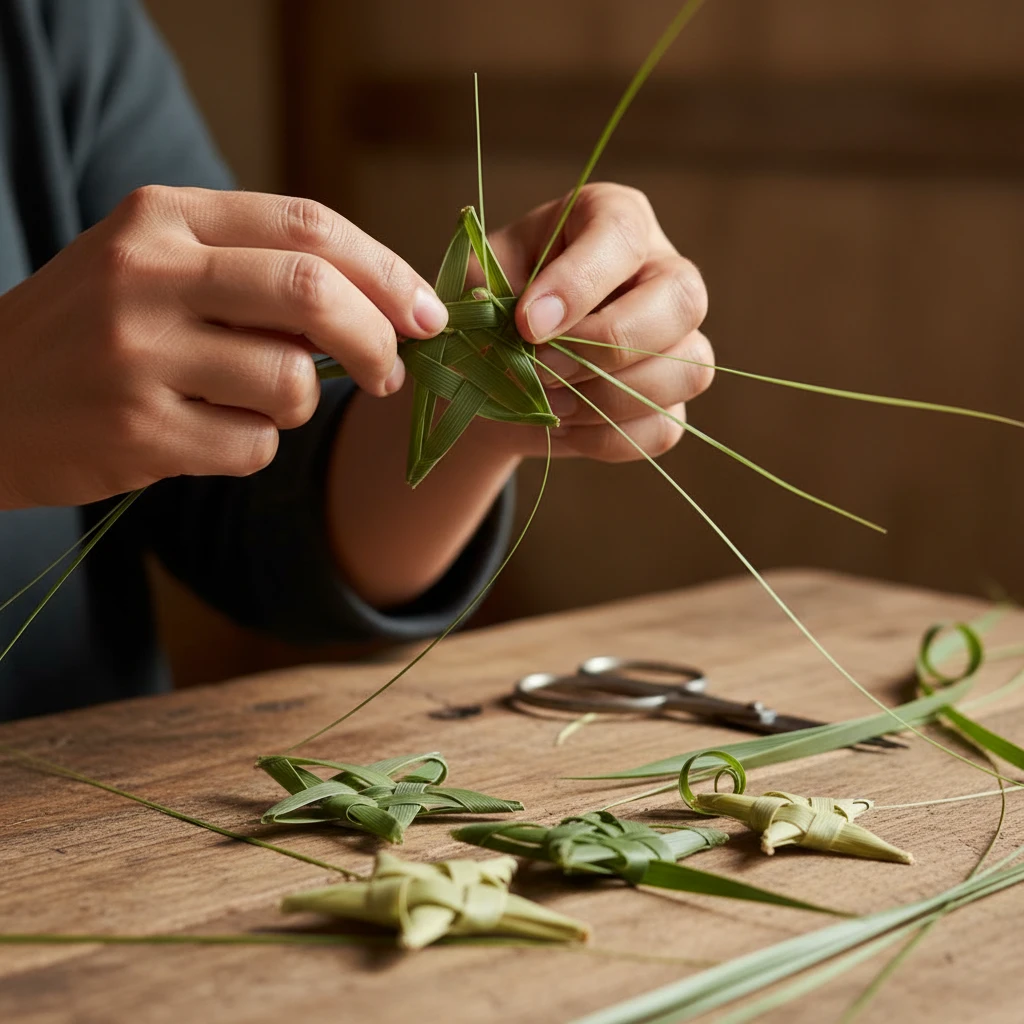
How Do You Weave Matariki Stars (Whetū)?
Weaving (Raranga) is a highly skilled art form in Māori culture. Making whetū (stars) is a popular Matariki activity that symbolizes the cluster itself. Depending on where you are in Aotearoa, you might also be looking for Puanga, as explored in Puanga vs. Matariki: Regional Variations. These stars can be hung in windows, on trees, or strung together to make a garland representing the nine stars: Matariki, Pōhutukawa, Tupuānuku, Tupuārangi, Waipunarangi, Waitī, Waitā, Ururangi, and Hiwa-i-te-rangi.
Using Harakeke (Flax) vs. Paper
Traditionally, these are made from Harakeke. However, harvesting flax requires knowledge of tikanga (protocols), such as not harvesting at night or in the rain, and ensuring the ‘rito’ (baby leaf) and ‘awhi rito’ (parent leaves) are left protecting the plant. For general classroom settings where flax is unavailable, ribbons or strips of stiff paper are excellent alternatives.
Simple 4-Point Star Tutorial
Materials: 4 strips of paper or flax (approx 1cm wide and 30cm long).
- Fold: Fold all four strips in half.
- Interlock:
- Hold strip A vertically (loop at top).
- Slide strip B (loop at left) over both ends of A.
- Slide strip C (loop at bottom) over both ends of B.
- Slide strip D (loop at right) over ends of C and through the loop of A.
- Tighten: Gently pull all ends to form a tight woven square in the center.
- Fold Over: Take the top layer of the top strip and fold it down. Do this for all four sides (going counter-clockwise) to lock the square.
- Form Points: Fold the top right strip to the right, then down, to create a triangle point. Tuck the end under the woven square. Repeat for all 8 points (4 on front, 4 on back).
- Trim: Cut off excess lengths to reveal your star.
These stars serve as beautiful reminders of the celestial bodies guiding the season. You can write a wish or a goal on the paper strips before weaving them, embedding your aspirations into the star.
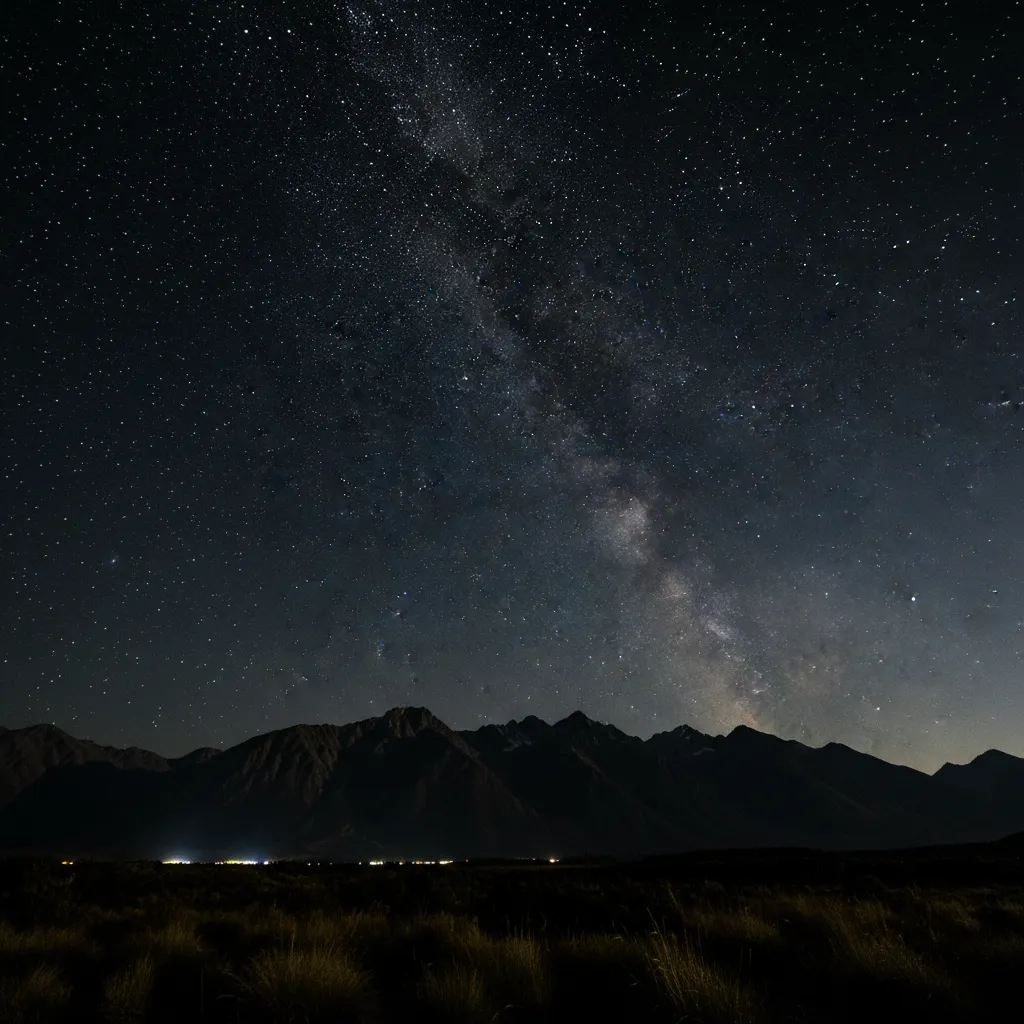
Techniques for Painting the Matariki Night Sky
Visualizing the night sky helps children and adults locate the Matariki cluster. Painting projects allow for expression through color and texture, capturing the deep blues, purples, and blacks of the winter sky. For educators looking to expand their skills, Teacher Workshops (Wānanga) often cover these artistic methods in depth.
Watercolor Resist Method
This is a favorite for younger children but produces professional-looking results.
- Draw: Use white oil pastels or crayons to draw the seven or nine stars of Matariki on thick white paper. You can also draw the horizon, mountains, or trees.
- Paint: Wash over the entire paper with dark watercolor paints (indigo, violet, black).
- Reveal: The oil pastel will resist the water, making the white stars “pop” out against the dark background.
Splatter Painting Galaxies
For a more dynamic art piece, use the splatter technique to create a dense starfield.
- Background: Paint a canvas or paper with a gradient of black and deep blue acrylics. Let it dry slightly.
- Splatter: Dip an old toothbrush or stiff paintbrush into white paint (slightly watered down). Use your thumb to flick the bristles, spraying a fine mist of white dots across the dark background.
- Detail: Once dry, use a fine brush to paint the specific arrangement of the Matariki cluster larger than the background stars.
How to Create Recycled Lanterns for Matariki Parades?
Light festivals and lantern parades are common during Matariki, symbolizing the bringing of light into the darkness of winter. Creating lanterns from recycled materials aligns with the Matariki value of kaitiakitanga (guardianship of the environment).
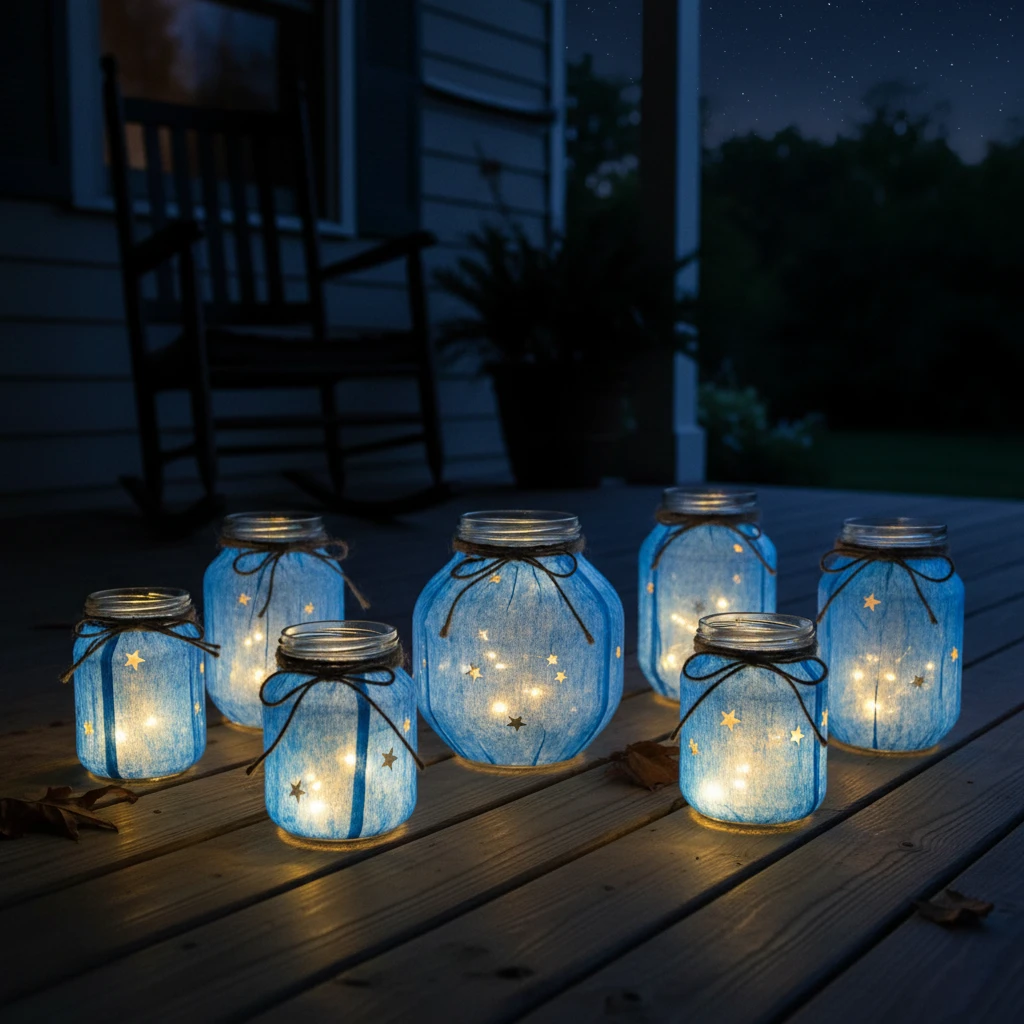
Glass Jar Lanterns
Materials: Clean glass jars (jam or sauce jars), tissue paper, PVA glue, tea lights (battery operated recommended).
- Tear: Rip various shades of blue, purple, and silver tissue paper into small pieces.
- Glue: Apply a layer of watered-down PVA glue to the outside of the jar.
- Stick: Layer the tissue paper over the glue until the glass is covered. Add silver glitter or star sequins while wet.
- Seal: Paint another layer of glue over the top to seal it.
- Handle: Wrap wire around the neck of the jar to create a handle for carrying.
Paper Bag Luminaries
For a simpler approach, use brown paper lunch bags. Cut star shapes or Māori motifs (like the koru) out of the bag using stencils. Place a battery-operated candle inside. When lit, the light shines through the cutouts, casting beautiful shadows. These can be lined up along driveways or classroom windowsills to welcome guests.
Collaborative Classroom Murals and Displays
Matariki is about community and coming together. Collaborative art projects are excellent for schools or community groups to foster unity.
The Feather Cloak (Korowai) of Aspirations
A Korowai represents mana (prestige) and protection. You can create a large paper Korowai as a group.
- Template: Cut hundreds of feather shapes out of paper.
- Personalize: Ask each participant to decorate a feather. They can write a wish for the New Year, a memory of a loved one, or simply color it with traditional patterns.
- Assemble: Glue the feathers in overlapping rows onto a large backing sheet shaped like a cloak. Start from the bottom and work up.
- Display: Hang the finished Korowai in a communal space to represent the collective hopes of the group.
The Nine Stars Mural
Divide a large wall space into nine sections. Assign a group of students to each star. They must research the domain of that star (e.g., Waitī watches over freshwater environments) and create a collage or painting representing that domain. When placed together, the mural tells the complete story of the environmental significance of Matariki.
Frequently Asked Questions
What crafts do you do for Matariki?
Common crafts include making Manu Tukutuku (kites), weaving flax stars and flowers, painting night sky scenes, creating poi, and making recycled lanterns. These activities focus on themes of stars, remembrance, and nature.
What are the colours of Matariki?
The colours most associated with Matariki are black and dark blue (representing the night sky and winter), silver and white (representing the stars), and red (often associated with the star Pōhutukawa and the earth). Gold is also used to signify celebration.
How to make a simple Matariki star?
A simple star can be made by weaving four strips of paper or flax. Fold them in half, interlock them to form a center square, and then fold the ends to create points. Alternatively, you can cut star shapes from cardboard and decorate them with glitter and paint.
Why do we fly kites for Matariki?
Kites (Manu Tukutuku) are flown to symbolically connect the earth and the sky. Historically, they were used to send messages and prayers to the ancestors and gods residing in the heavens during the New Year period.
What activities are done during Matariki?
Beyond arts and crafts, Matariki activities include sharing kai (food) with family, storytelling, singing waiata (songs), planting trees, remembering loved ones who have passed, and stargazing to find the cluster in the pre-dawn sky.
How to teach Matariki through art?
Use art to visualize the stories. Have students paint the specific domains of the nine stars (e.g., a river for Waitī). Use weaving to teach patience and patterns. Building kites teaches physics and history. Every art project can be paired with a legend or environmental lesson relevant to the Māori New Year.