Matariki star crafts for kids are educational art activities designed to celebrate the Māori New Year. These projects, such as weaving harakeke stars, constructing manu tukutuku (kites), and creating paper lanterns, help children understand the significance of the Matariki star cluster while developing fine motor skills and cultural appreciation through hands-on learning.
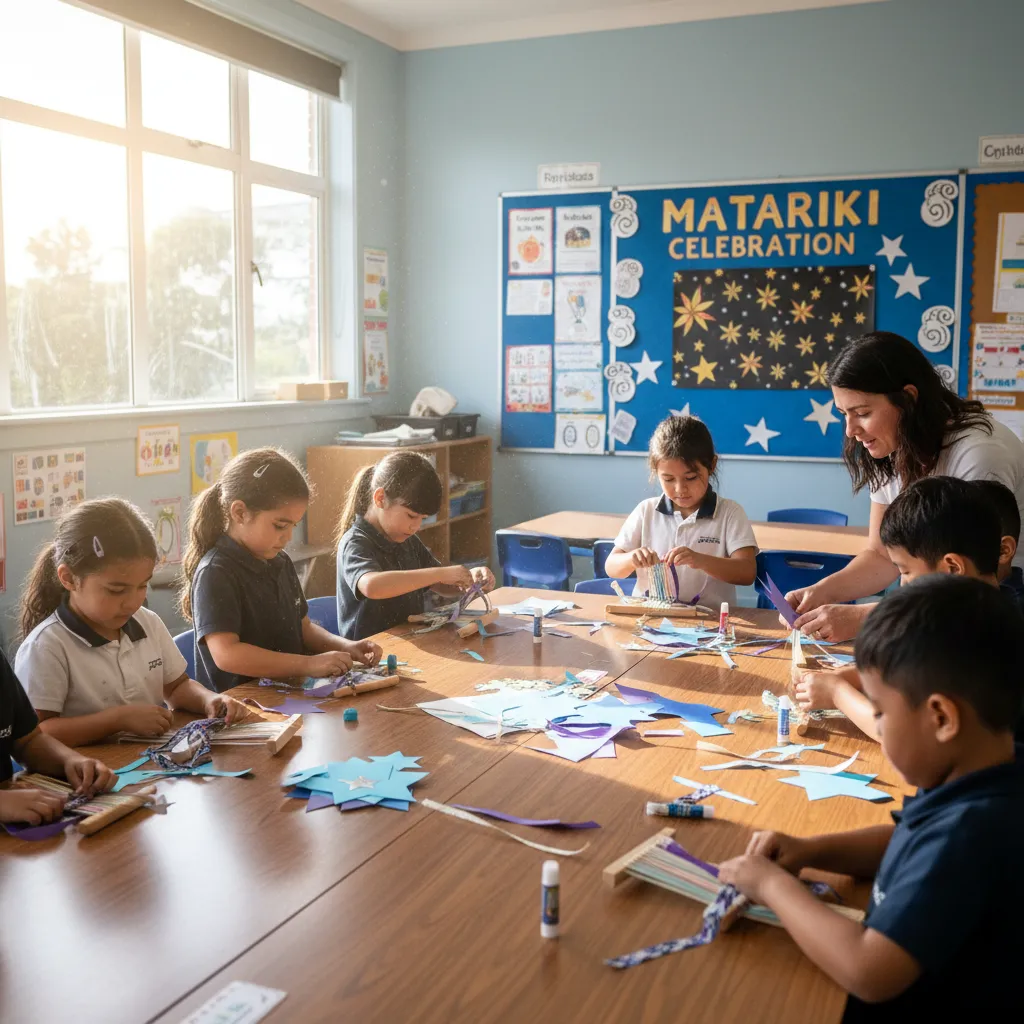
As the Pleiades star cluster rises in the mid-winter sky, Aotearoa New Zealand prepares to celebrate Matariki. This significant cultural event marks the Māori New Year, a time for remembrance, celebrating the present, and looking to the future. For educators and parents, integrating Matariki star crafts for kids into the curriculum offers a tangible way to connect tamariki (children) with the rich traditions and astronomy associated with this celestial event.
Engaging in these craft activities does more than fill an afternoon; it provides a platform for storytelling and cultural transmission. Whether you are a kaiako (teacher) in a busy classroom or a parent looking for holiday activities, these projects are designed to be accessible, educational, and culturally respectful.
Understanding the Significance of Matariki Crafts
Matariki is not merely a date on the calendar; it is a period deeply rooted in the environmental and spiritual life of Māori. The appearance of the Matariki cluster (the Pleiades) signals a shift in seasons. Historically, it was a time when crops had been harvested and stored, allowing whānau (families) to gather, share stories, and engage in the arts.
When implementing Matariki star crafts for kids, it is vital to understand that these activities often mirror traditional practices. For instance, kites were flown to connect the heavens and the earth, while weaving represents the binding together of people and knowledge. By framing these crafts within their cultural context, educators elevate the activity from simple play to a meaningful educational experience.
How to Make Manu Tukutuku (Kites)
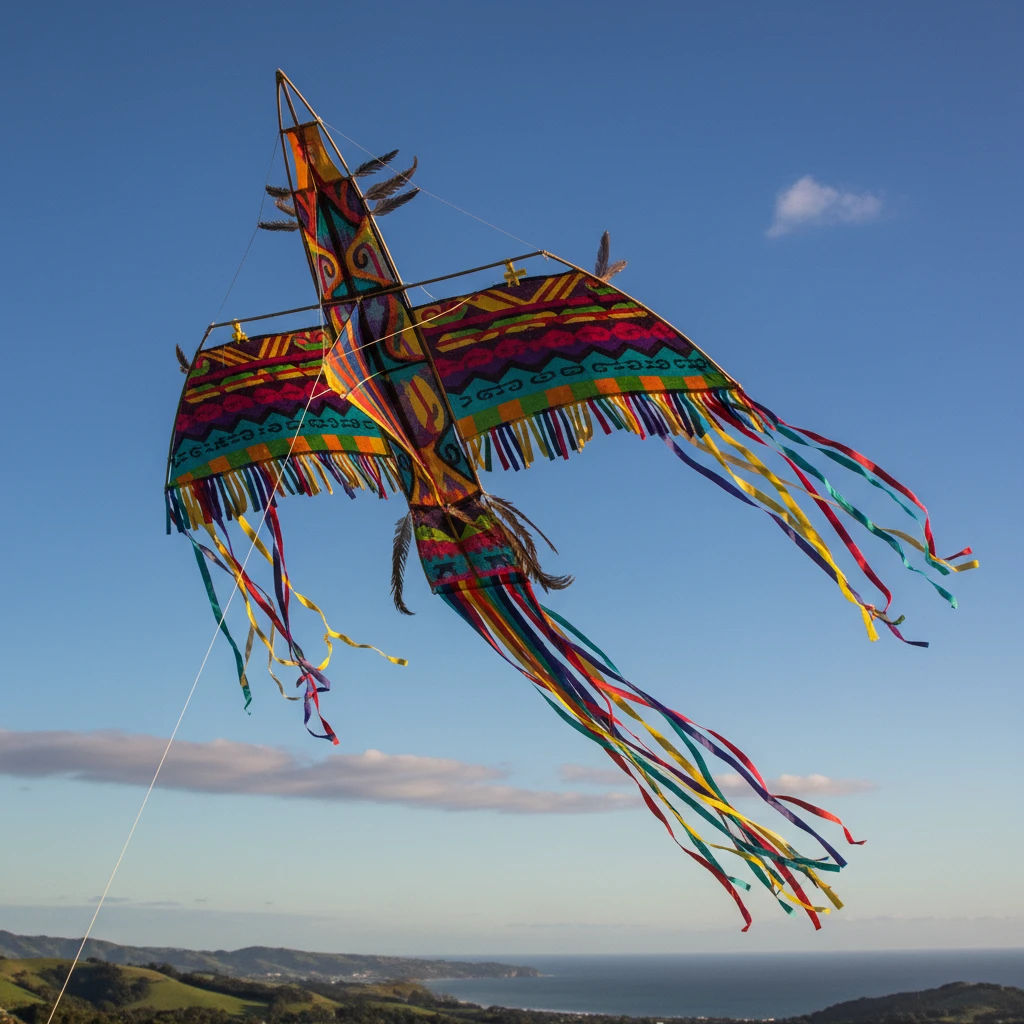
Manu Tukutuku, or Māori kites, hold a special place in Matariki celebrations. Traditionally made from natural materials like toetoe, raupō, and harakeke (flax), these kites were often used to send messages to the heavens. In a modern educational setting, simplified versions allow children to explore aerodynamics and cultural symbolism simultaneously.
The Cultural Significance of Kites
Kites were viewed as a connection between the tangata (people) and the atua (gods). During Matariki, they represent looking up to the stars and sending aspirations for the new year skyward. Explaining this concept to children helps them understand that their craft is a vessel for their hopes and dreams.
Step-by-Step Guide for Classroom Kites
For a classroom-friendly version that respects the tradition while utilizing accessible materials, follow this guide:
- Prepare the Frame: Use two bamboo skewers or lightweight dowels. Cross them to form a ‘t’ shape, with the horizontal stick about one-third down the vertical stick. Secure the intersection tightly with string or yarn.
- Create the Sail: Place the frame onto a sheet of decorating paper, tyvek, or even a recycled plastic bag. Trace around the frame, leaving a 2cm margin. Cut out the shape.
- Attach the Sail: Fold the margins over the string or directly over the sticks and tape or glue them down securely.
- Decorate: Encourage students to draw the stars of Matariki or traditional kōwhaiwhai patterns on the sail using markers or paint.
- Add the Bridle and Tail: Attach a string to the cross-point of the sticks. Add a long tail made of ribbons or fabric strips to the bottom of the kite for stability.
Paper Lantern Construction for Light Shows
As Matariki occurs in mid-winter, light plays a crucial role in the festivities. Lanterns symbolize the returning light and the warmth of the home fires (ahi kā). Hosting a lantern parade or a classroom light show is a popular way to conclude Matariki studies.
Materials Needed
- Heavy cardstock or construction paper (black or dark blue works best for contrast)
- Tracing paper or baking paper
- LED tea lights (flameless for safety)
- Scissors, glue sticks, and hole punches
- Star-shaped stencils
Assembly Instructions
To create a “Starry Night” lantern:
- Cut the Windows: Have students fold their cardstock in half and cut out various star shapes or use a punch to create constellations. This is a great opportunity to teach the specific layout of the Matariki cluster.
- Diffuse the Light: Glue a sheet of tracing paper or baking paper on the inside of the cardstock, covering the holes. This will diffuse the LED light and create a soft glow.
- Form the Cylinder: Roll the cardstock into a cylinder and staple or glue the edges together.
- Add a Handle: Punch two holes at the top rim and attach a piece of wire or ribbon as a handle.
- Illumination: Place the LED tea light at the bottom (you may need a small cardboard base) to illuminate the stars.
Simple Weaving (Raranga) with Paper or Flax
Raranga (weaving) is a fundamental Māori art form. While harvesting and preparing harakeke (flax) involves specific tikanga (protocols) that may be difficult for every classroom to adhere to strictly, the principles of weaving can be taught using paper or ribbon. This ensures respect for the tradition while making the skill accessible to beginners.
Introduction to the Concept
Weaving teaches patience, dexterity, and the concept of patterns. In the context of Matariki, weaving represents the binding of the whānau and the community. If you have access to prepared harakeke and a knowledgeable instructor, that is ideal. However, paper strips are an excellent substitute for learning the “over-one, under-one” technique.
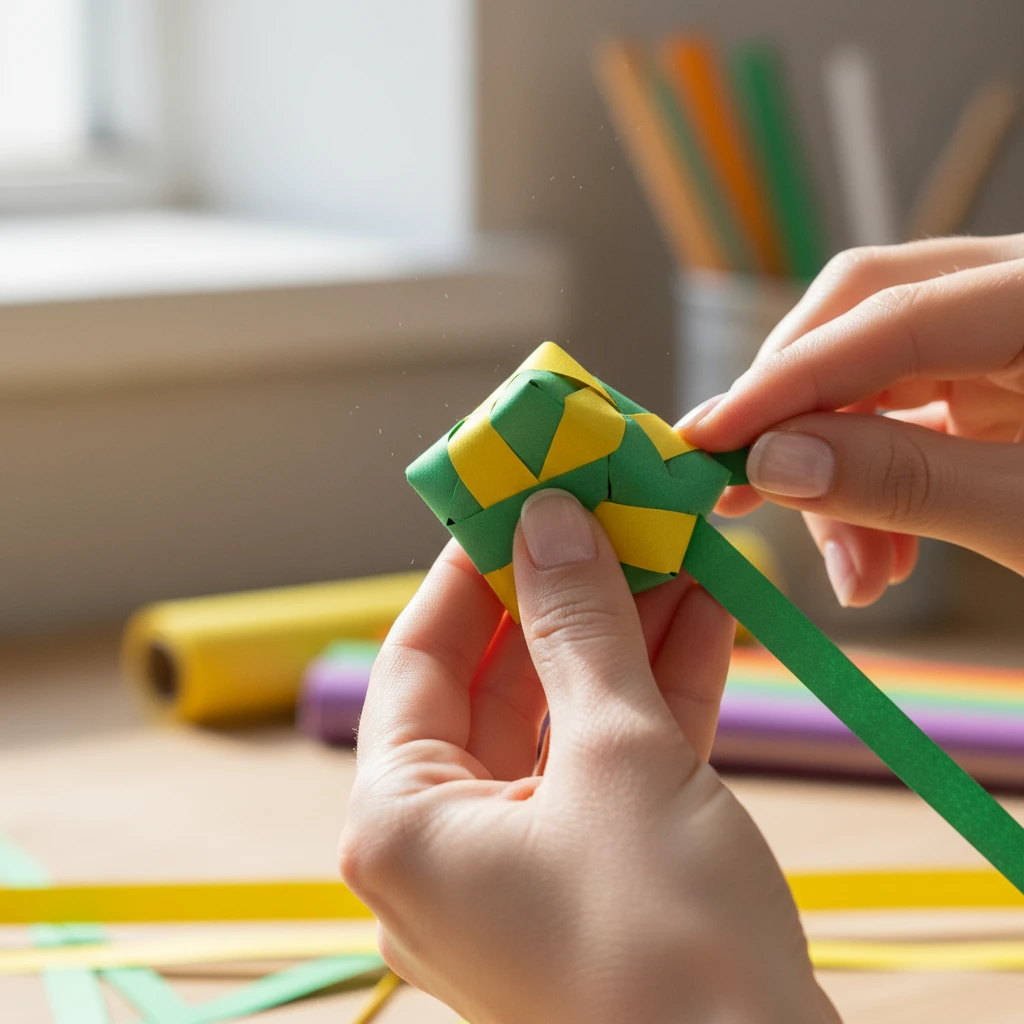
Creating Woven Stars (Whetū)
The woven star is a classic Matariki craft. Here is how to make a simple 4-point star using paper strips:
- Prepare Strips: Cut four strips of paper, approximately 30cm long and 1cm wide.
- Initial Loop: Take one strip and make a loop at one end. Thread a second strip through it to create a knot-like structure. This forms the center square.
- Weaving the Points: Fold the strips back over the center square to create triangular points. This requires a specific folding technique often called the “windmill” fold.
- Tightening: Pull the ends gently to tighten the weave and trim any excess paper.
These woven stars can be strung together to make garlands or hung individually to represent the stars of the cluster.
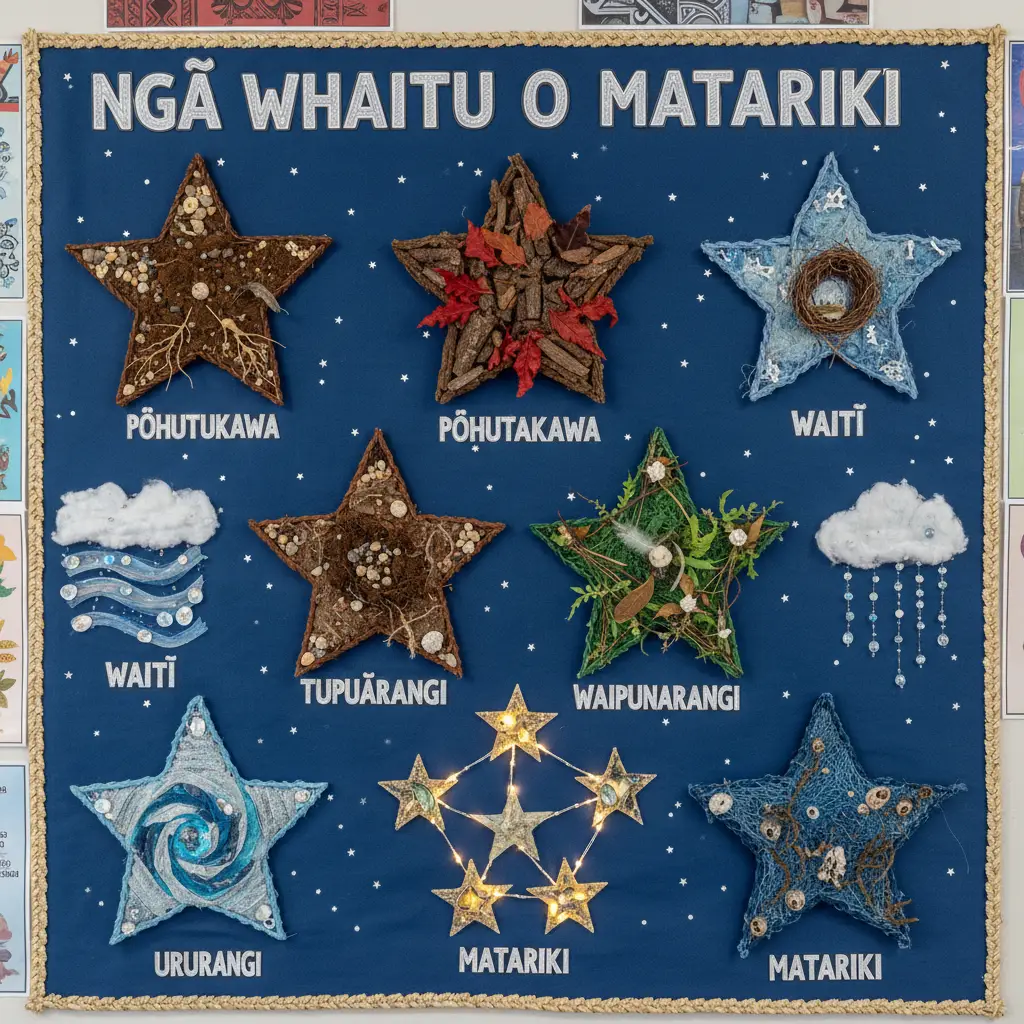
Crafting the 9 Stars of Matariki
A comprehensive educational unit should focus on the distinct stars within the cluster. While traditionally seven stars were commonly identified, modern teaching often includes nine: Matariki, Waitī, Waitā, Waipuna-ā-rangi, Tupu-ā-nuku, Tupu-ā-rangi, Ururangi, Pohutukawa, and Hiwa-i-te-rangi.
Crafting Individual Stars
Assign different groups of students to specific stars. They can create a visual representation based on the star’s domain:
- Waitī (Freshwater): Use blue cellophane and silver glitter to represent freshwater bodies.
- Waitā (Saltwater): Incorporate sand or sea shells into the star decoration.
- Tupu-ā-nuku (Food from the ground): Use dried leaves, seeds, or brown textured paper.
- Tupu-ā-rangi (Food from the sky/trees): Use feathers or bird imagery.
Creating a Mobile or Wall Display
Once the individual stars are crafted, assemble them into a correct astronomical formation on a classroom wall or hang them as a mobile. This visual aid reinforces the names and positions of the stars, serving as a constant reference point throughout the Matariki season.
Materials List for Low-Budget Classrooms
Celebrating Matariki does not require an expensive budget. In fact, resourcefulness is in keeping with the values of sustainability and environmental care (kaitiakitanga) central to Māori worldview.
Sustainable and Recycled Options
Here is a checklist of low-cost materials that can be gathered or recycled for Matariki star crafts for kids:
- Cardboard: Utilize cereal boxes or delivery cartons for kite frames and star cutouts.
- Newspaper and Magazines: Perfect for papier-mâché or rolling into tubes for structural supports.
- Nature Foraging: Collect fallen leaves, twigs, and feathers (ensure they are clean) for collage work. This connects the craft directly to Tupu-ā-nuku and Tupu-ā-rangi.
- Wool and String Scraps: Ask families to donate leftover yarn for kite strings or weaving.
- Plastic Bags: Clean, recycled plastic bags make excellent, durable sails for kites.
People Also Ask (PAA)
What are simple Matariki crafts for preschoolers?
For preschoolers, focus on simple sensory crafts. Finger painting stars using silver and blue paint on black paper is effective. Another option is creating “star shakers” using recycled plastic bottles filled with dried beans and glitter, sealed tightly. Sticker art, where children place star stickers in the shape of the cluster, is also age-appropriate and helps with fine motor skills.
How do you make a Matariki star out of paper?
To make a simple 3D paper star, cut out two identical star shapes from cardstock. Cut a slit in one star from the top point to the center, and in the other star from the bottom indentation to the center. Slide the two stars together through the slits to create a 3D standing star. Decorate with glitter or traditional patterns.
What materials are best for making Manu Tukutuku?
Traditional Manu Tukutuku are made from raupō, toetoe, and harakeke. For modern classrooms, lightweight materials are best. Bamboo skewers or dowels work well for the frame. For the sail, lightweight synthetic fabric, tyvek, or even recycled plastic bags are ideal because they catch the wind easily and are durable.
Why is weaving important during Matariki?
Weaving (Raranga) is significant during Matariki as it symbolizes the strengthening of family bonds and community ties. It represents the bringing together of individual strands to create something stronger and more beautiful, mirroring the gathering of whānau to celebrate the new year, remember ancestors, and plan for the future.
How can I teach the 9 stars of Matariki through art?
Assign each of the 9 stars to a specific art medium that reflects its domain. For example, use watercolors for Waitī (freshwater), collage with leaves for Tupu-ā-nuku (grown in earth), and wind chimes for Ururangi (winds). Displaying these distinct art pieces together visually demonstrates the diverse domains governed by the Matariki cluster.
Is it okay to use paper instead of flax for weaving?
Yes, it is perfectly acceptable to use paper for learning weaving techniques, especially for beginners or young children. Using paper avoids the complex cultural protocols (tikanga) associated with harvesting and preparing harakeke (flax). It allows children to learn the skill and pattern logic before graduating to traditional materials if appropriate supervision is available.